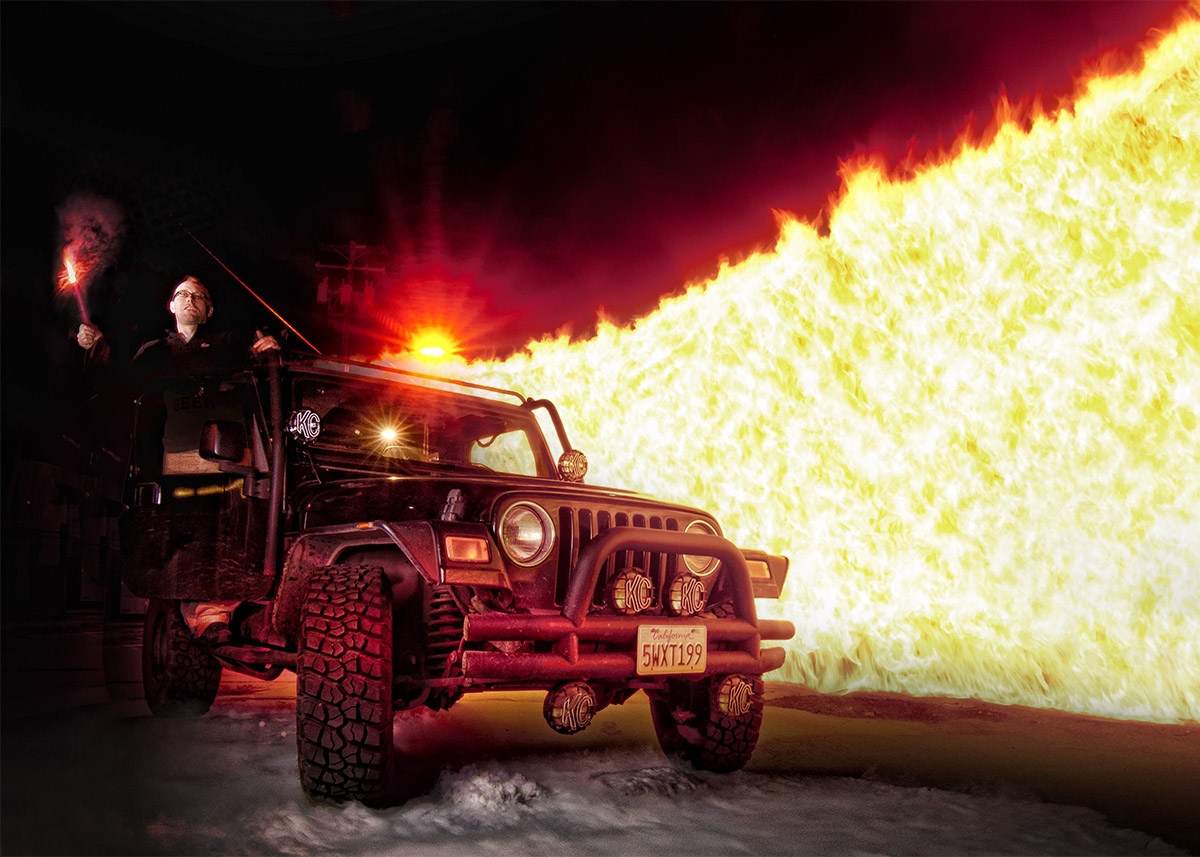

With a friend heading in to town for the weekend, we started planning our most elaborate burn shot yet, we wanted to surround our Jeep with fire and smoke.
The fire was the easy part, we’re getting quite good at that. We simply took the fire whip idea (tutorial here) and made a 9 foot long version. We assumed the smoke would be easy as well, after all we have lots of smoke bombs!
However, as you can see from the test shots, the smoke just doesn’t behave in a nice way. They also have the nasty side effect of painting our driveway in various colours.

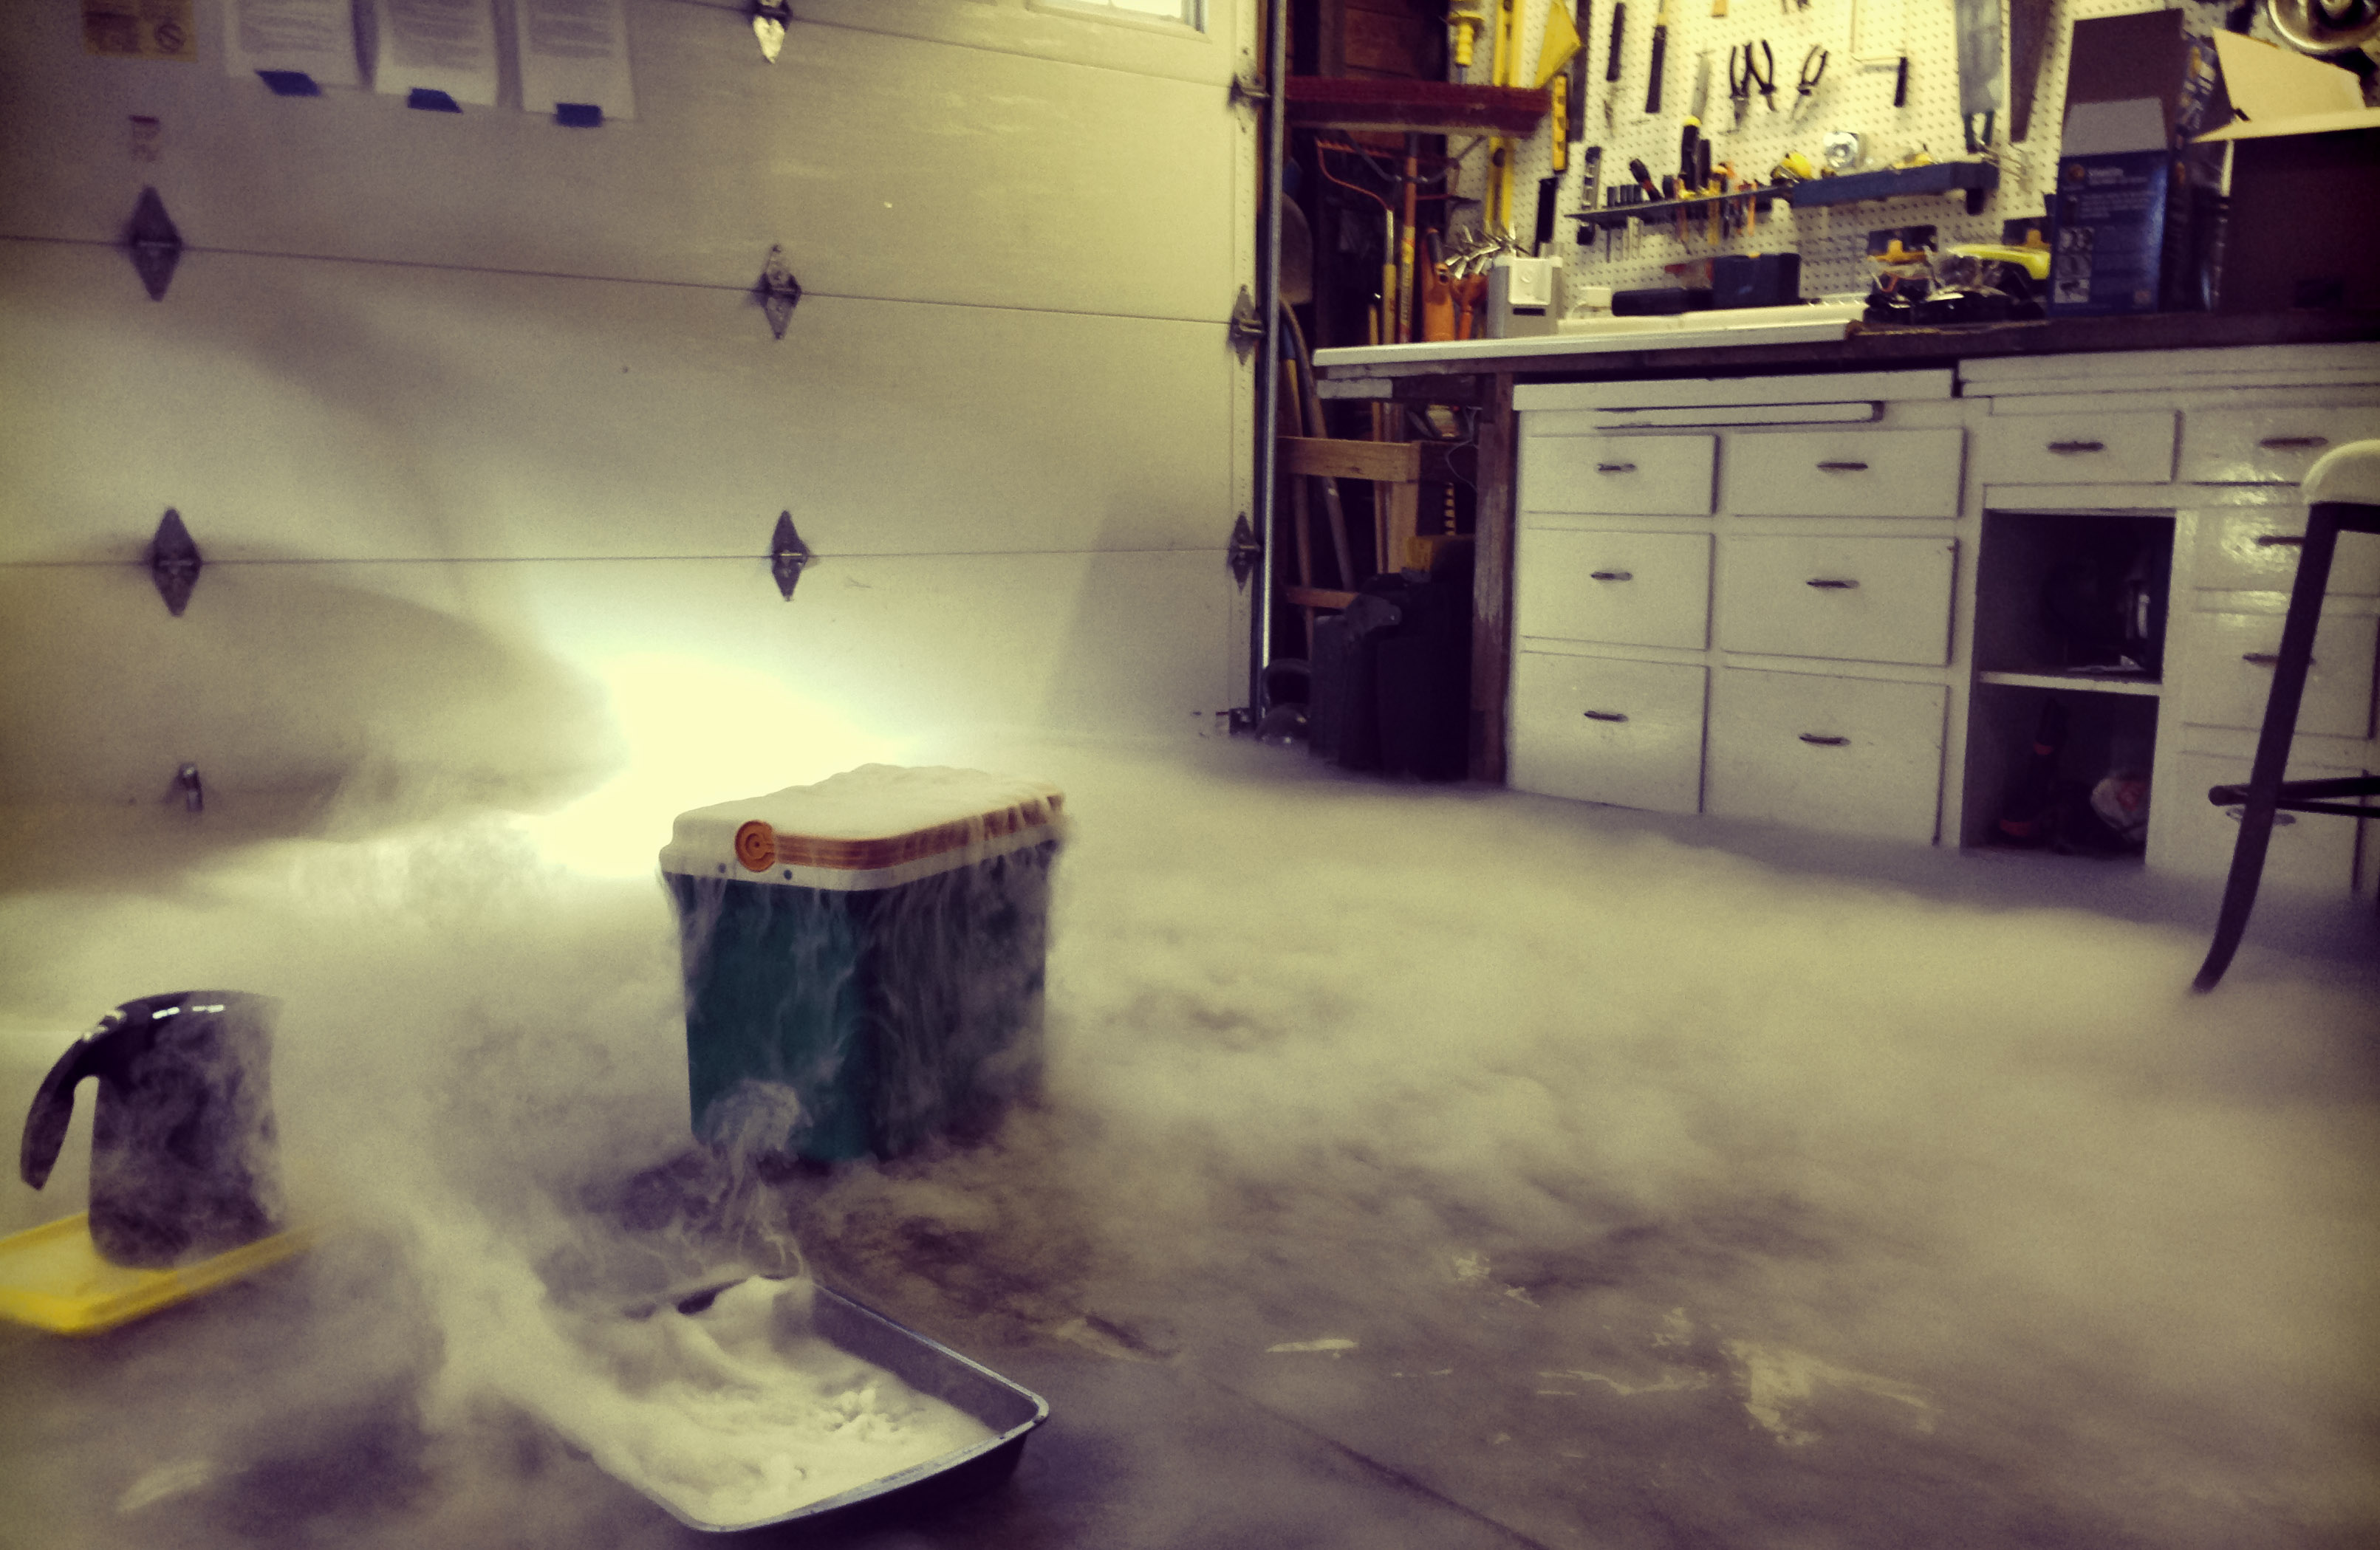
Plan B is superb: dry ice. If you’ve never used Dry Ice before you’re missing out. It is so much fun. In the test shot we simply poured a kettle of boiling water in the cooler full of dry ice and the garage was instantly transformed in a creepy wonder land.
As a general rule the internet doesn’t agree on much, it did however seems to reflect the received knowledge that you can’t light a black car at night using just one speed light, which is a bit of bugger because we were only intending to use one.
Here’s the inventory for the shoot:
- Nikon D300 with Tokina 11-16mm 2.8f lens (set at F11, ISO200)
- ReallyRightStuff Tripod for camera
- Video camera
- Tripod for video camera
- 3 remote flash triggers
- 2 light stands
- 3 Speedlight flashes
- Large softbox for lighting the Jeep
- Small grid for lighting the model
- Red coloured gel for the light under the car
- Welder’s mask for the model (not used in final picture)
- Duct tape to fasten an iPhone to Andy’s chest so we could get 1st person video
- 3 road flares
- Large bucket of water to extinguish the flares
- 5 baking trays to put the dry ice on
- Cooler containing 10Lbs of dry ice
- 4 thermos flasks of hot water to melt the ice
- 4 packets of smoke bombs just in case
- Spare explosive fuse wire just in case
- 9ft fire rope
- 12ft extending pole to raise the rope
- Spin bucket (see tutorial)
- Black cloth to extinguish fire rope
- 2 fire extinguishers just in case
- Cigar lighter
- A model called Alyn
- An assistant called Deanna
Things we forgot:
- Spare batteries! Both the camera, 1 of the flashes and the video camera all were operating on the last dregs of juice
- That little plate that allows you to attach a speedlight to a stand
- Gloves for handling the ice
Things that went wrong:
- Even though we knew it was a bad idea, we played with the smoke bombs and filled the car with rancid coloured smoke.
- We forgot to switch on the video camera
- We placed the softbox right in the way of the camera
- We timed the fire wall incorrectly so the flashes all triggered before we’d finished walking around the car – leaving a nasty black left side to the image
- We composed the image badly. The model is too close to the left frame and there’s a nasty flare from a street light (which we later decided we liked)
- We left an expensive Nikon Speedlight and remote behind at the scene of the crime (damnittoallhell)
With everything that went wrong it’s amazing we were able to salvage an image for your to see. Here’s how the image was made.
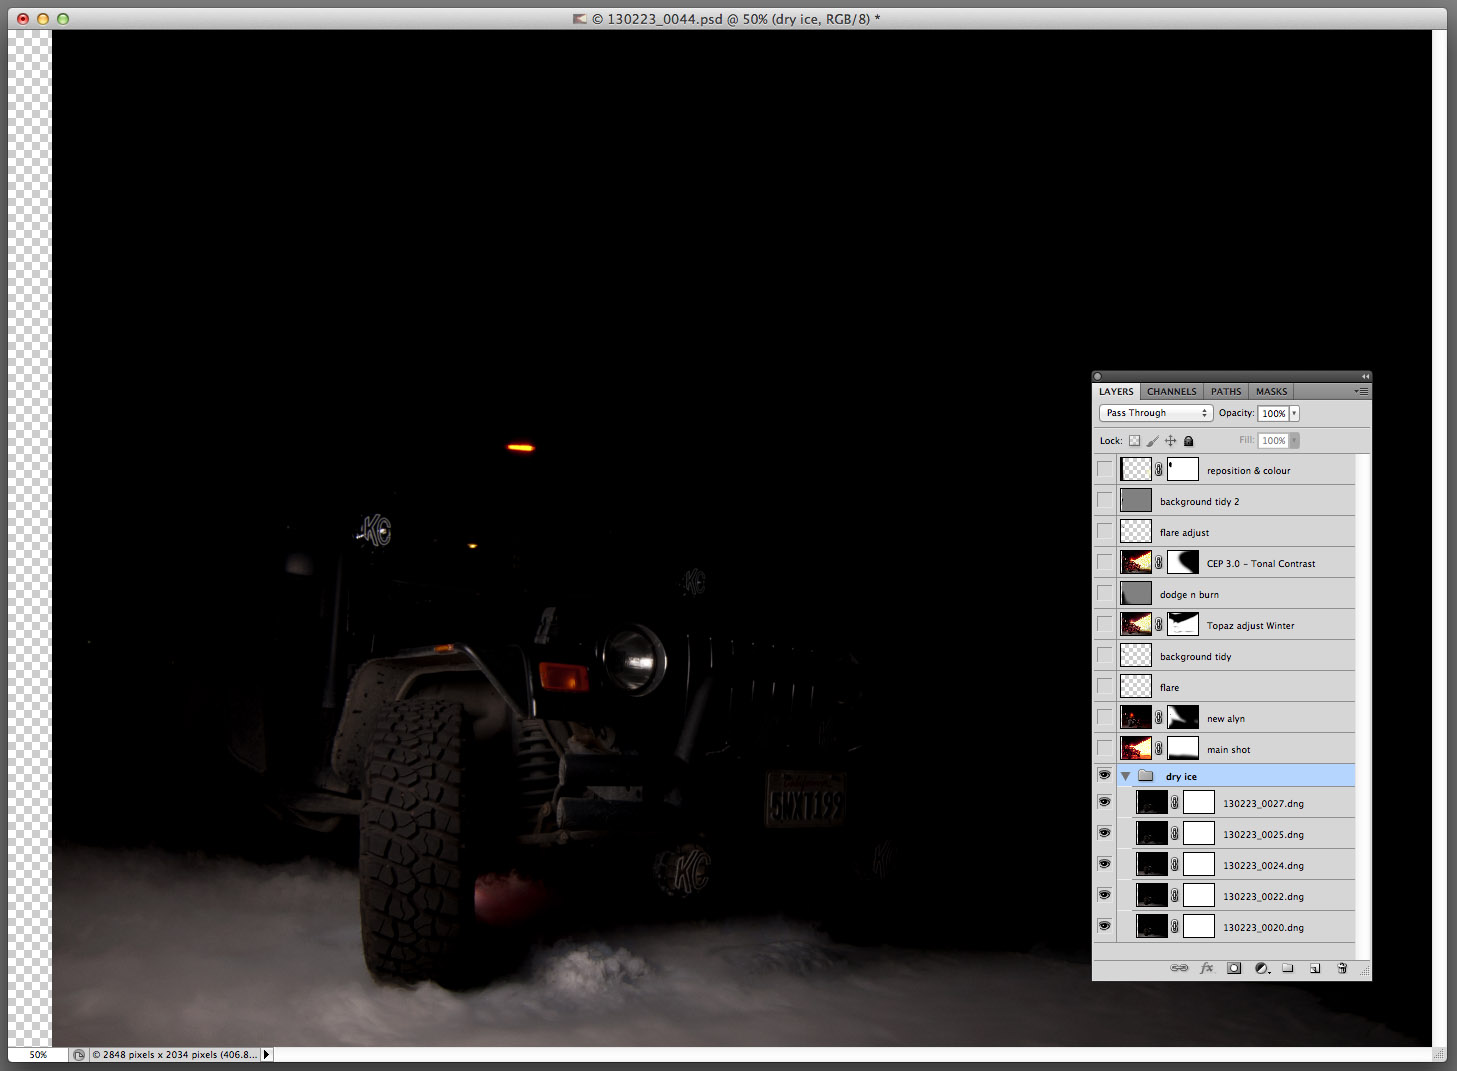
Step 1: we grouped 5 dry ice photos and set the blend mode to lighten. This gave us more detailed smoke. These are 1/200th of a second shots.
Step 2: we added the fire shot using a simple mask to blend in the smoke. Note the bloody softbox on the left side of the picture is hiding the road flare. This is 10 second exposure.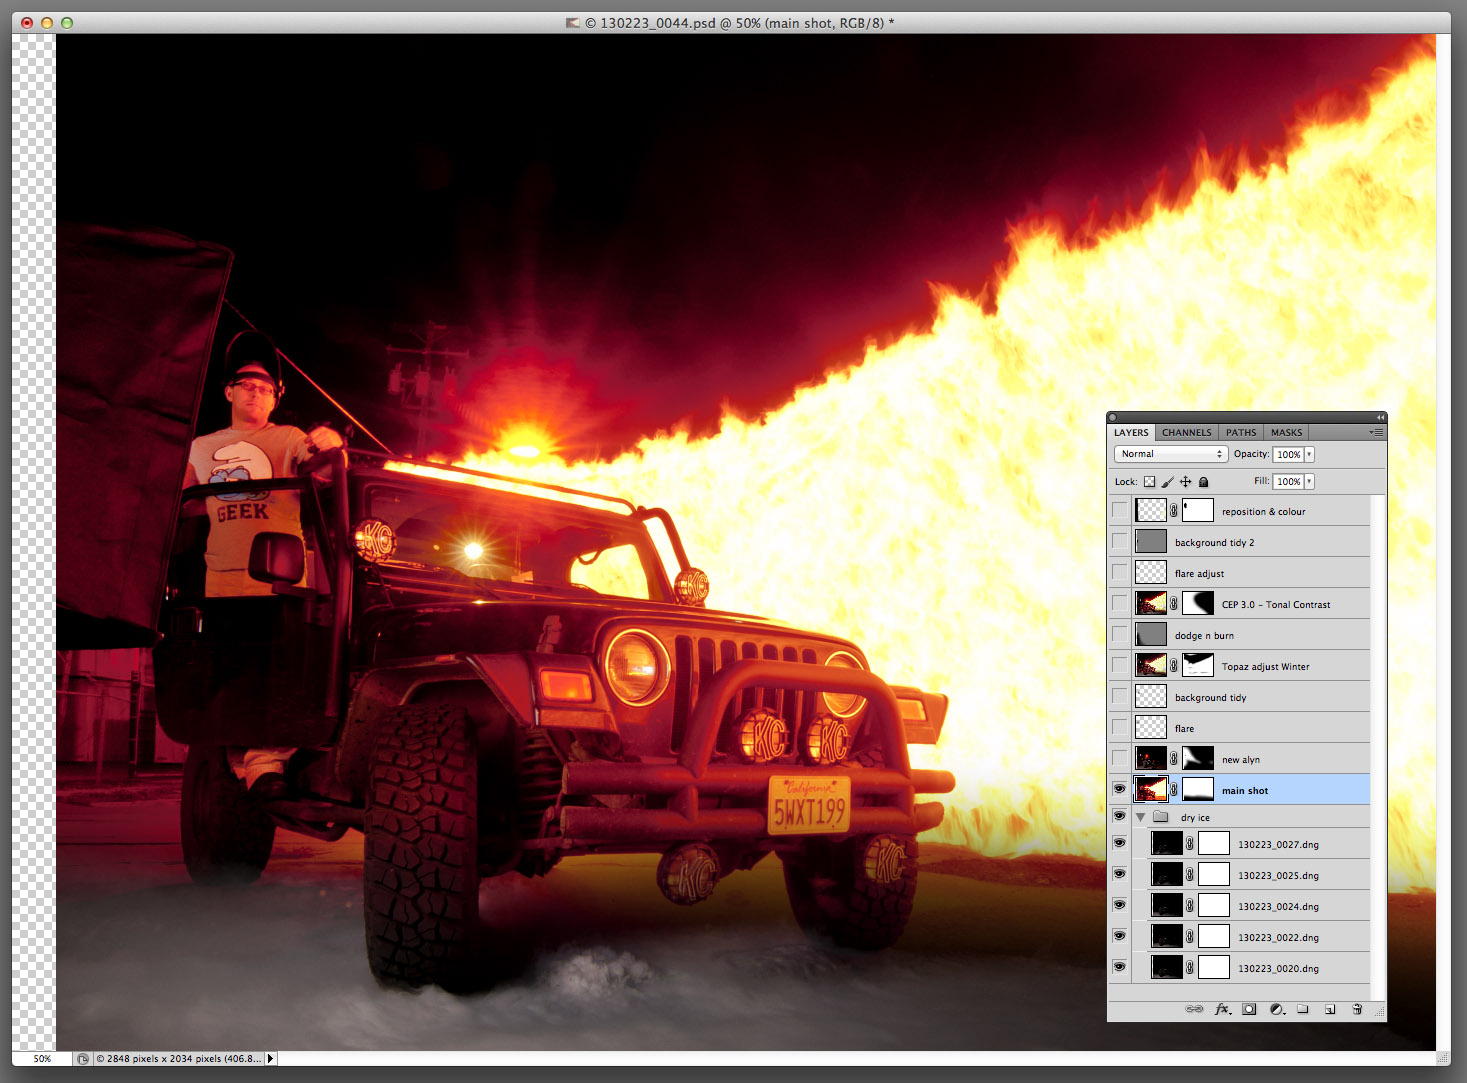
Step 3: replace the model with one from a test shot we’d taken when trying to get the lights configured correctly. In this one he’s pretending to hold a road flare and the softbox is nowhere in sight.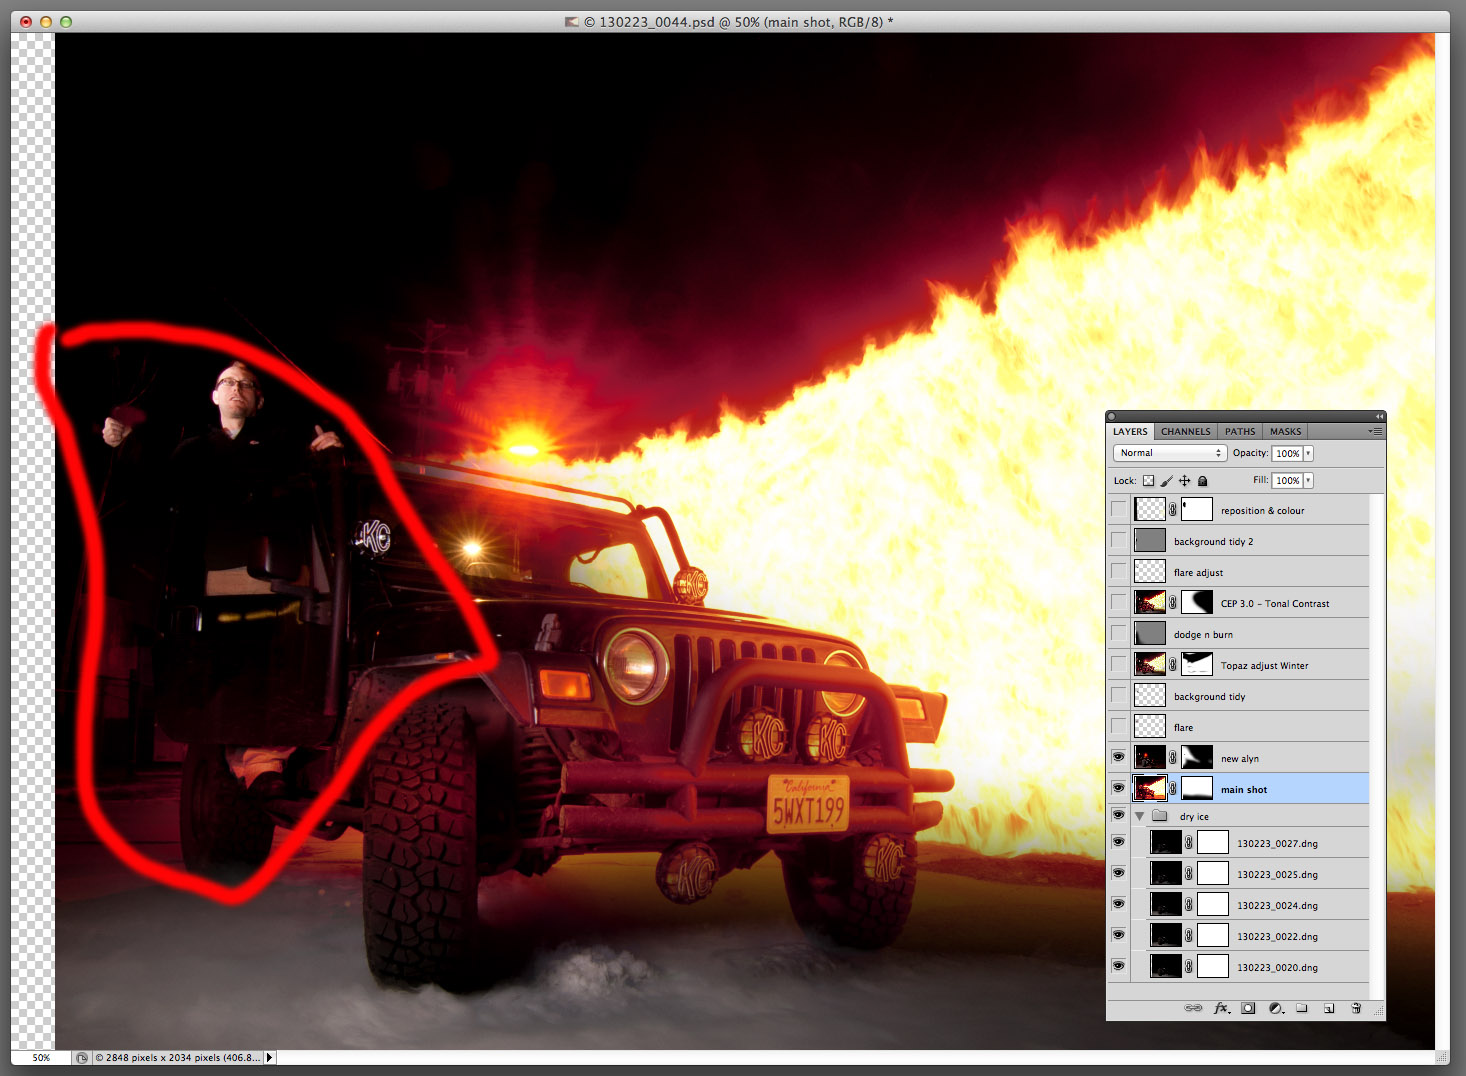
Step 4: now we’ve lost the flare we need to add it back. Fortunatly, we have quite the stock of flare images to choose from. Here’s the one we borrowed from.
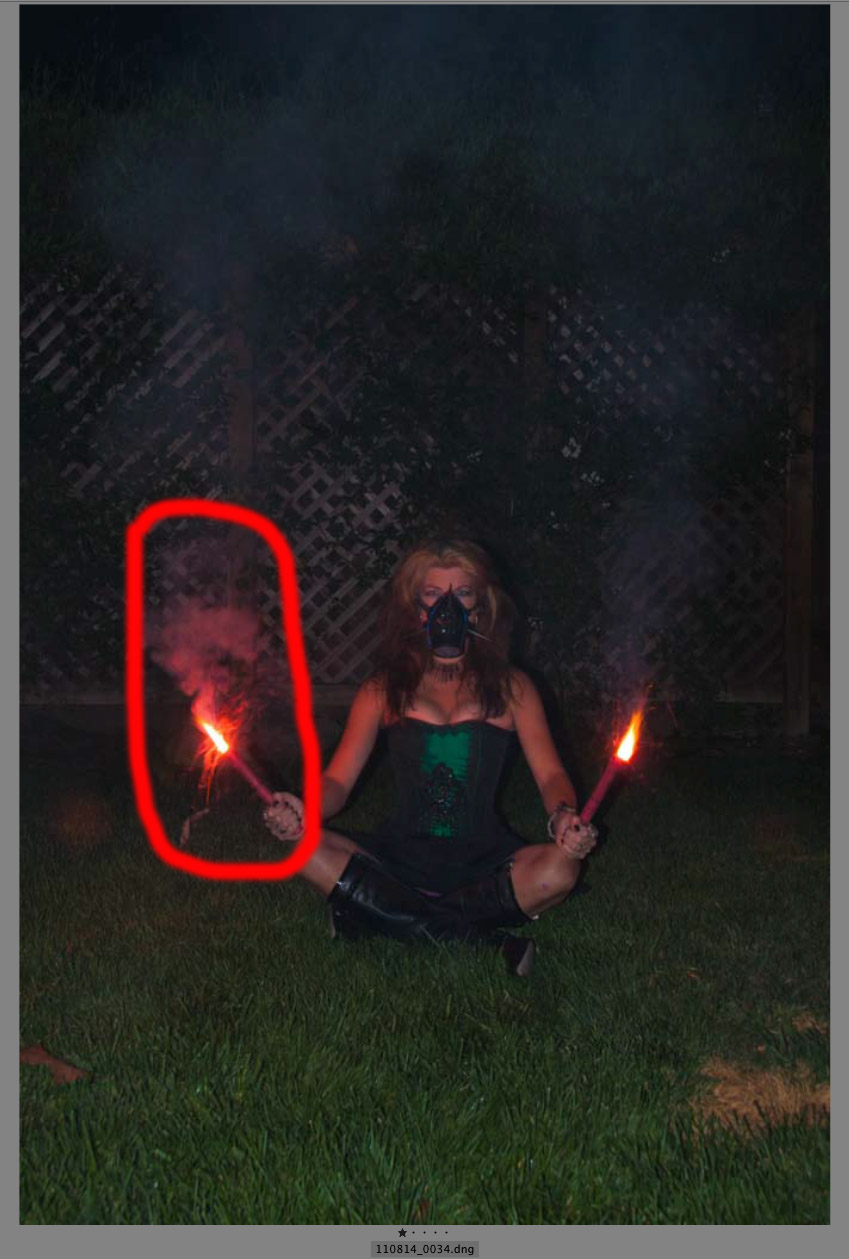
Using the Transform tool we rotated and resized the flare in to the right place.
Step 5: there were some cables or branches causing distraction by the new flare, so we cloned them out.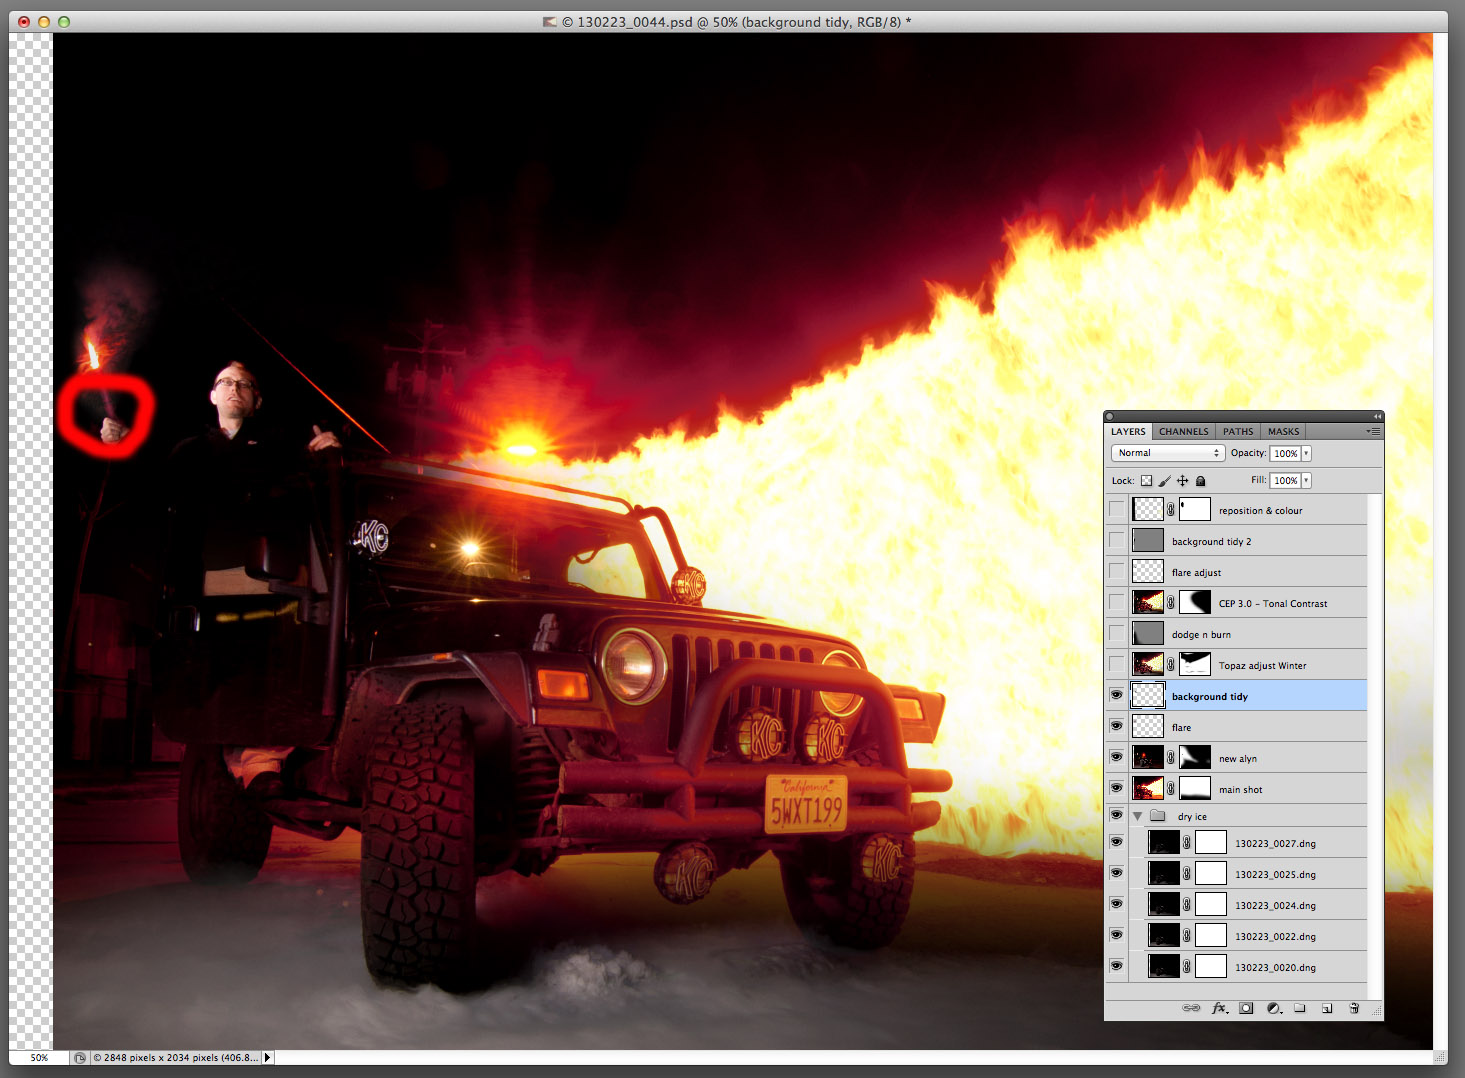
Step 6: we ran the whole image through Topaz Adjust and applied a Winter filter. This has the nice effect of bringing out the detail in the fire and the Jeep.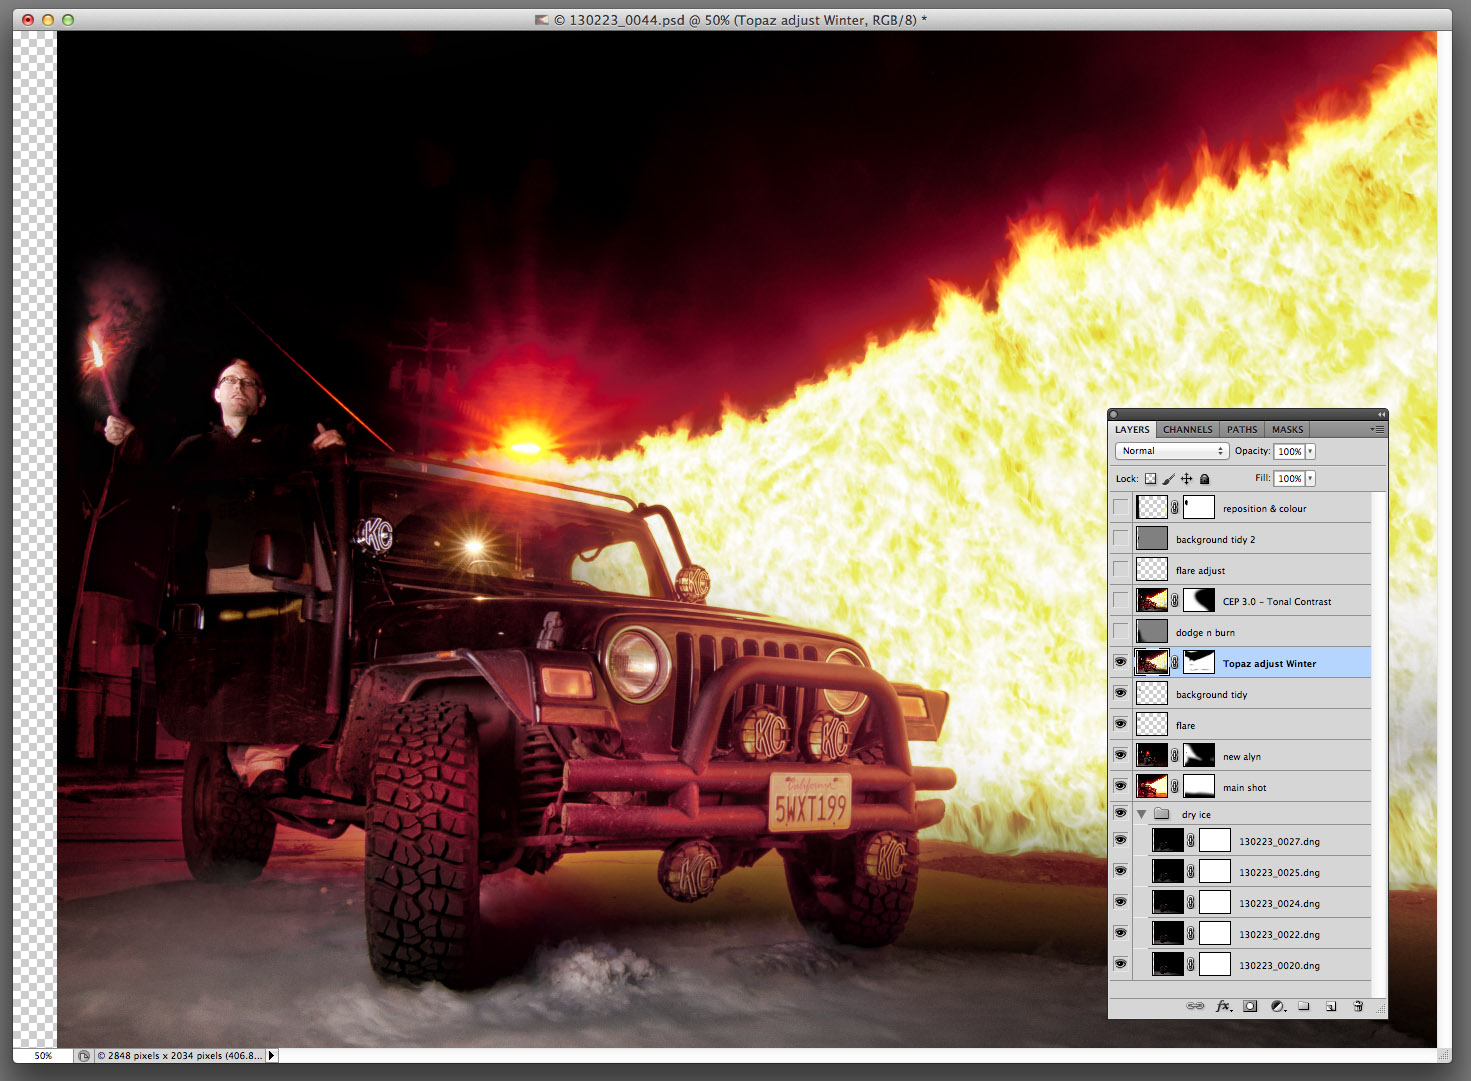
Step 7: there’s still too much distraction in the background so we used the Burn tool to darken it away.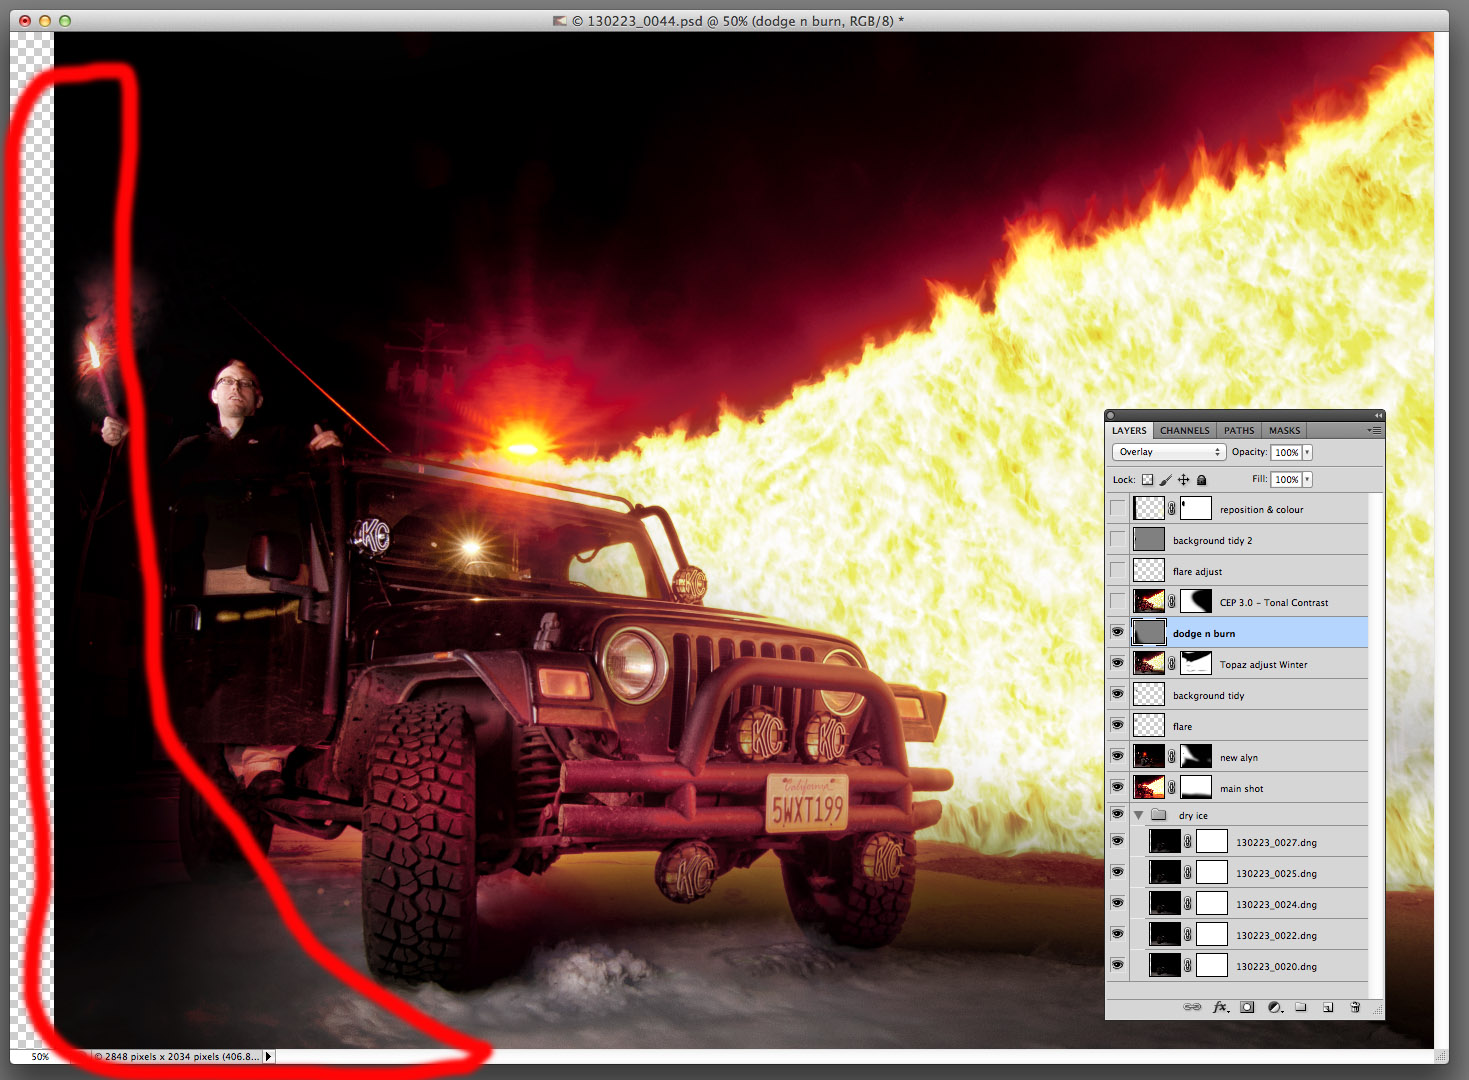
Step 8: we ran the whole image through Nik Color Efex Pro and applied a Tonal Contrast to the smoke and the Jeep making it ‘pop’ a little more.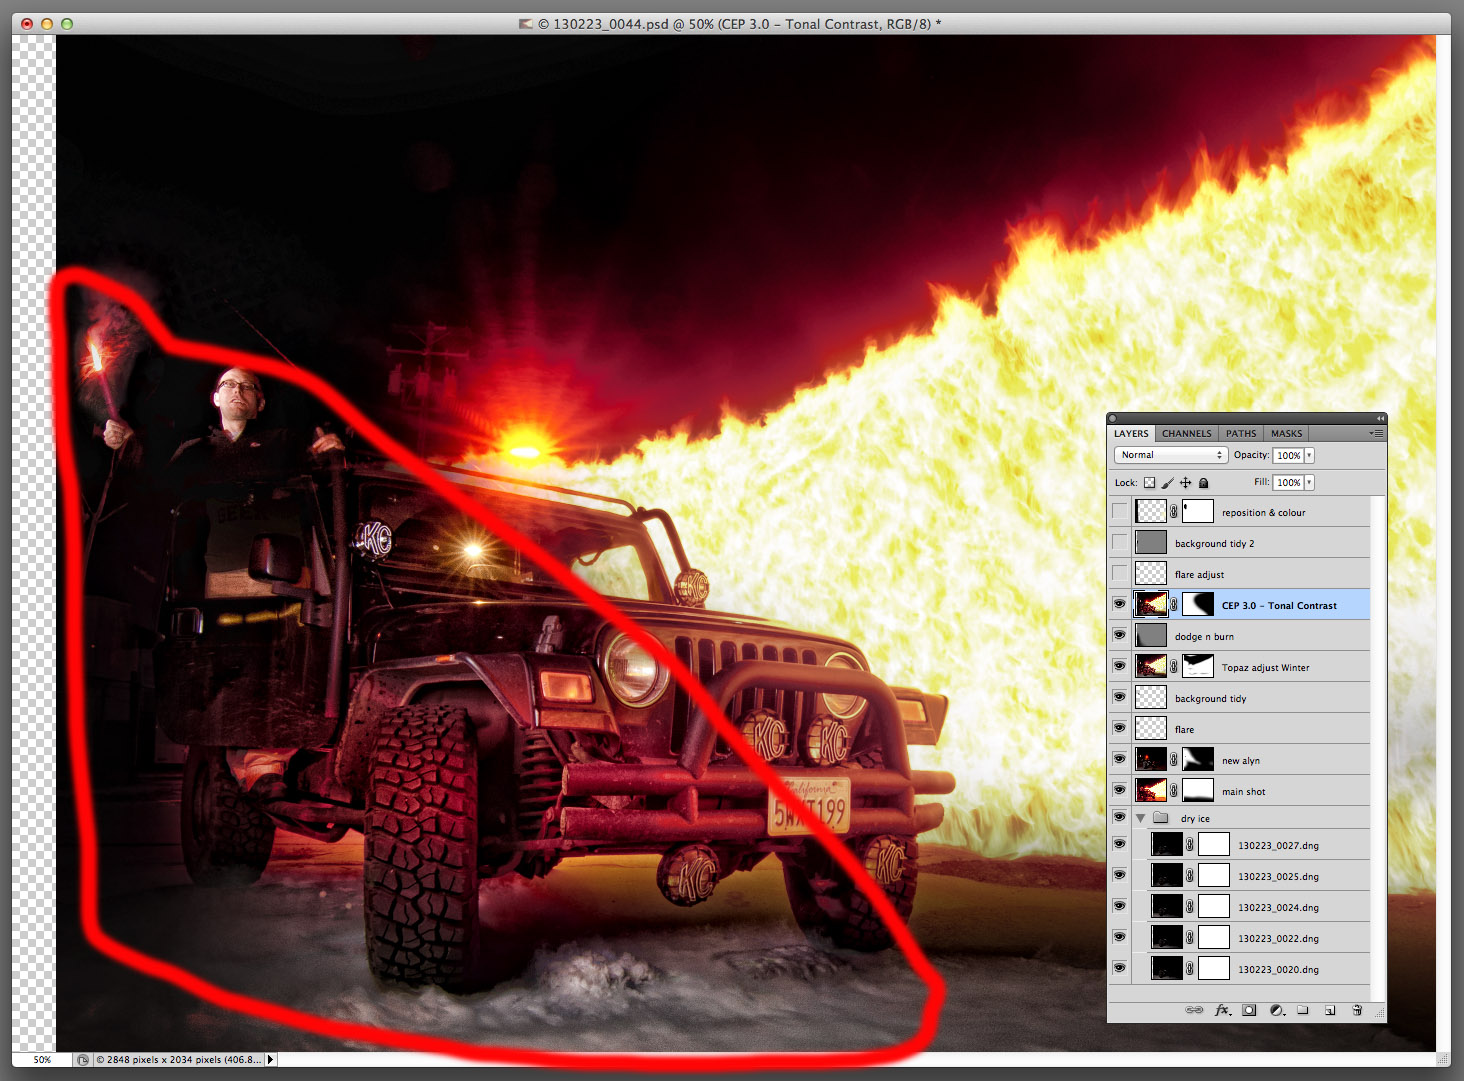
Step 9: the flare was still annoying so we removed a little of the smoke using the Clone tool.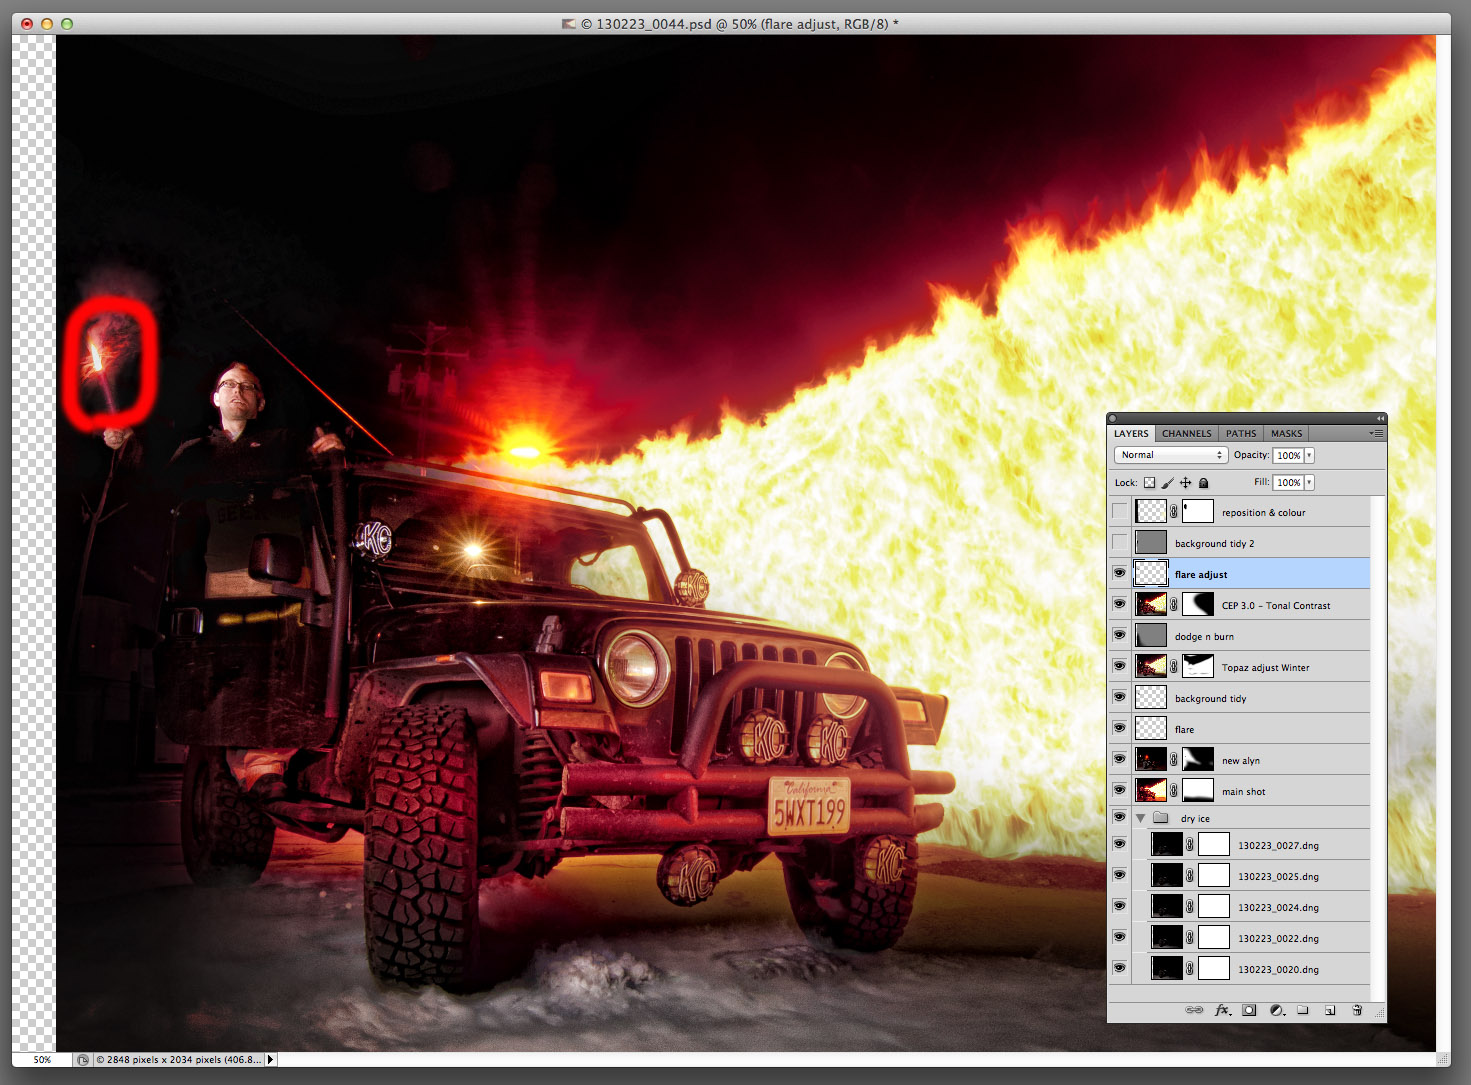
Step 10: more trees or wires made it look like the model had things hanging off his arm so more Cloning.
Step 11: using the clone tool in color more we fixed a patch of fire that Topaz had desaturated and also cloned in some more space on the left of the image where our in-camera composition had failed it (it’s hard to do in the dark).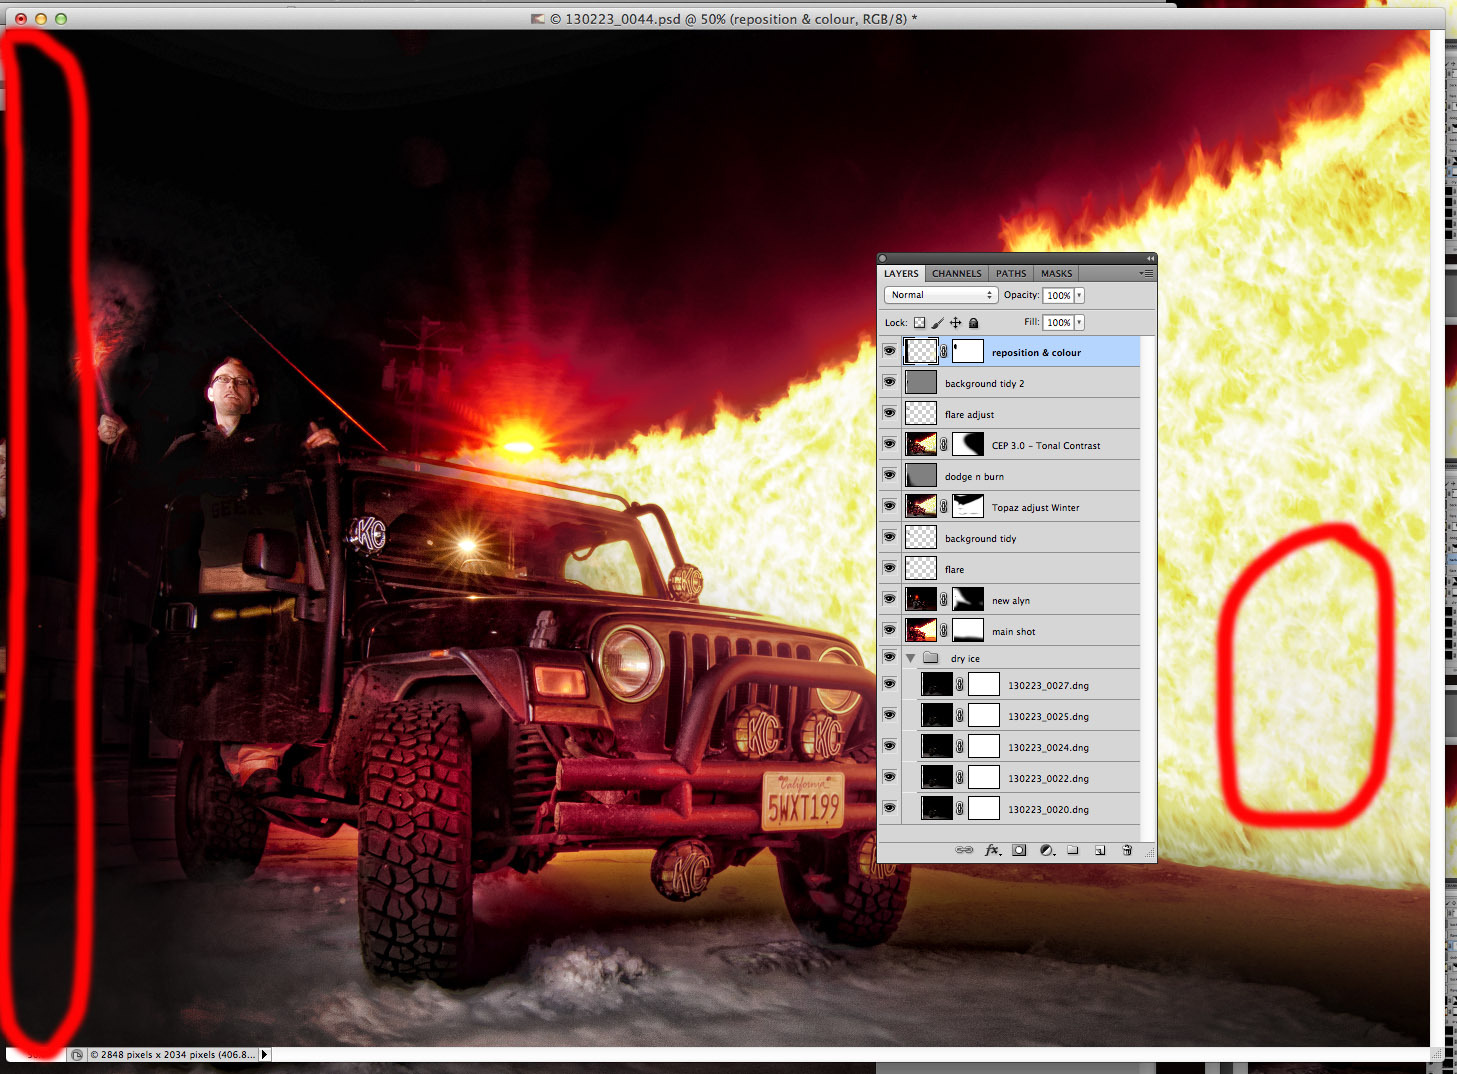
And that’s it. Our most complex fire shoot ever. We hope you liked it.
Come on, talk to us!