Star trails can get boring. Let’s make twinkling comets!

But first here’s a story for you. Back in the day, in darkest Winter, the Rangers at Yosemite National Park used to build a big fire on top of Glacier Point and when it was good & hot, they’d push it over the cliff and give the spectators a nice view of “fire falls”. They don’t do that any more. Something to do with it being a terrible idea.
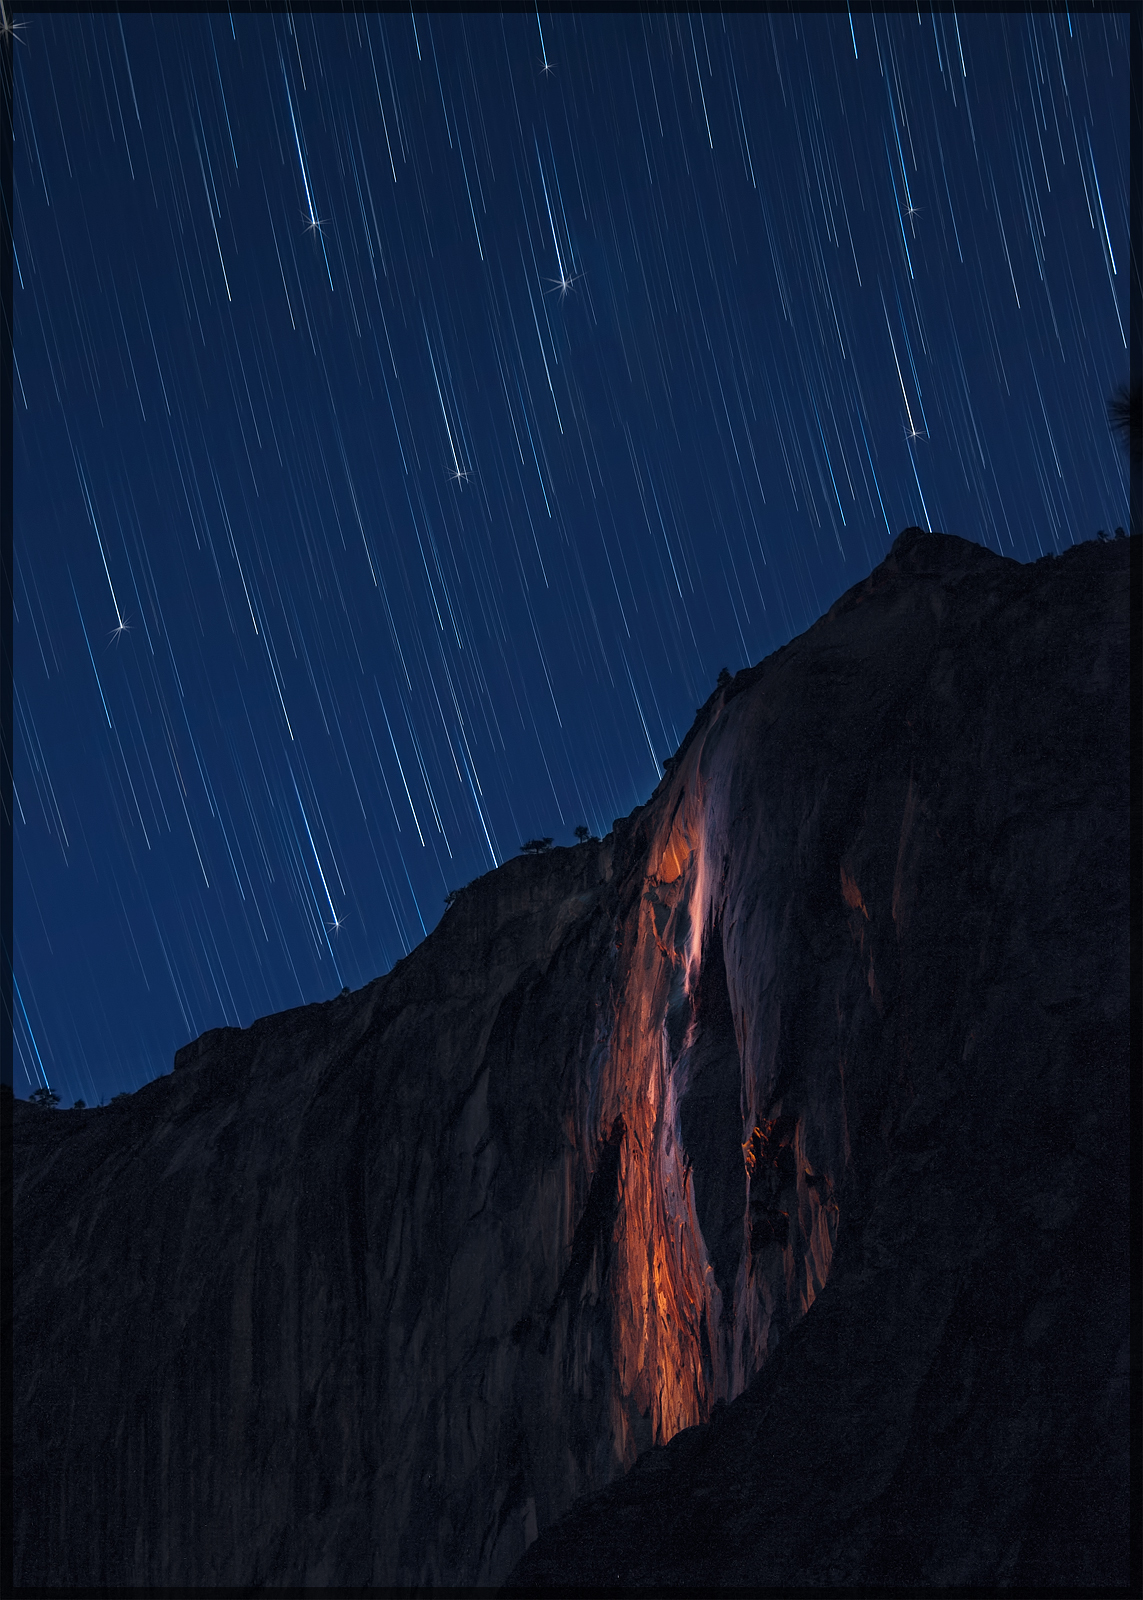
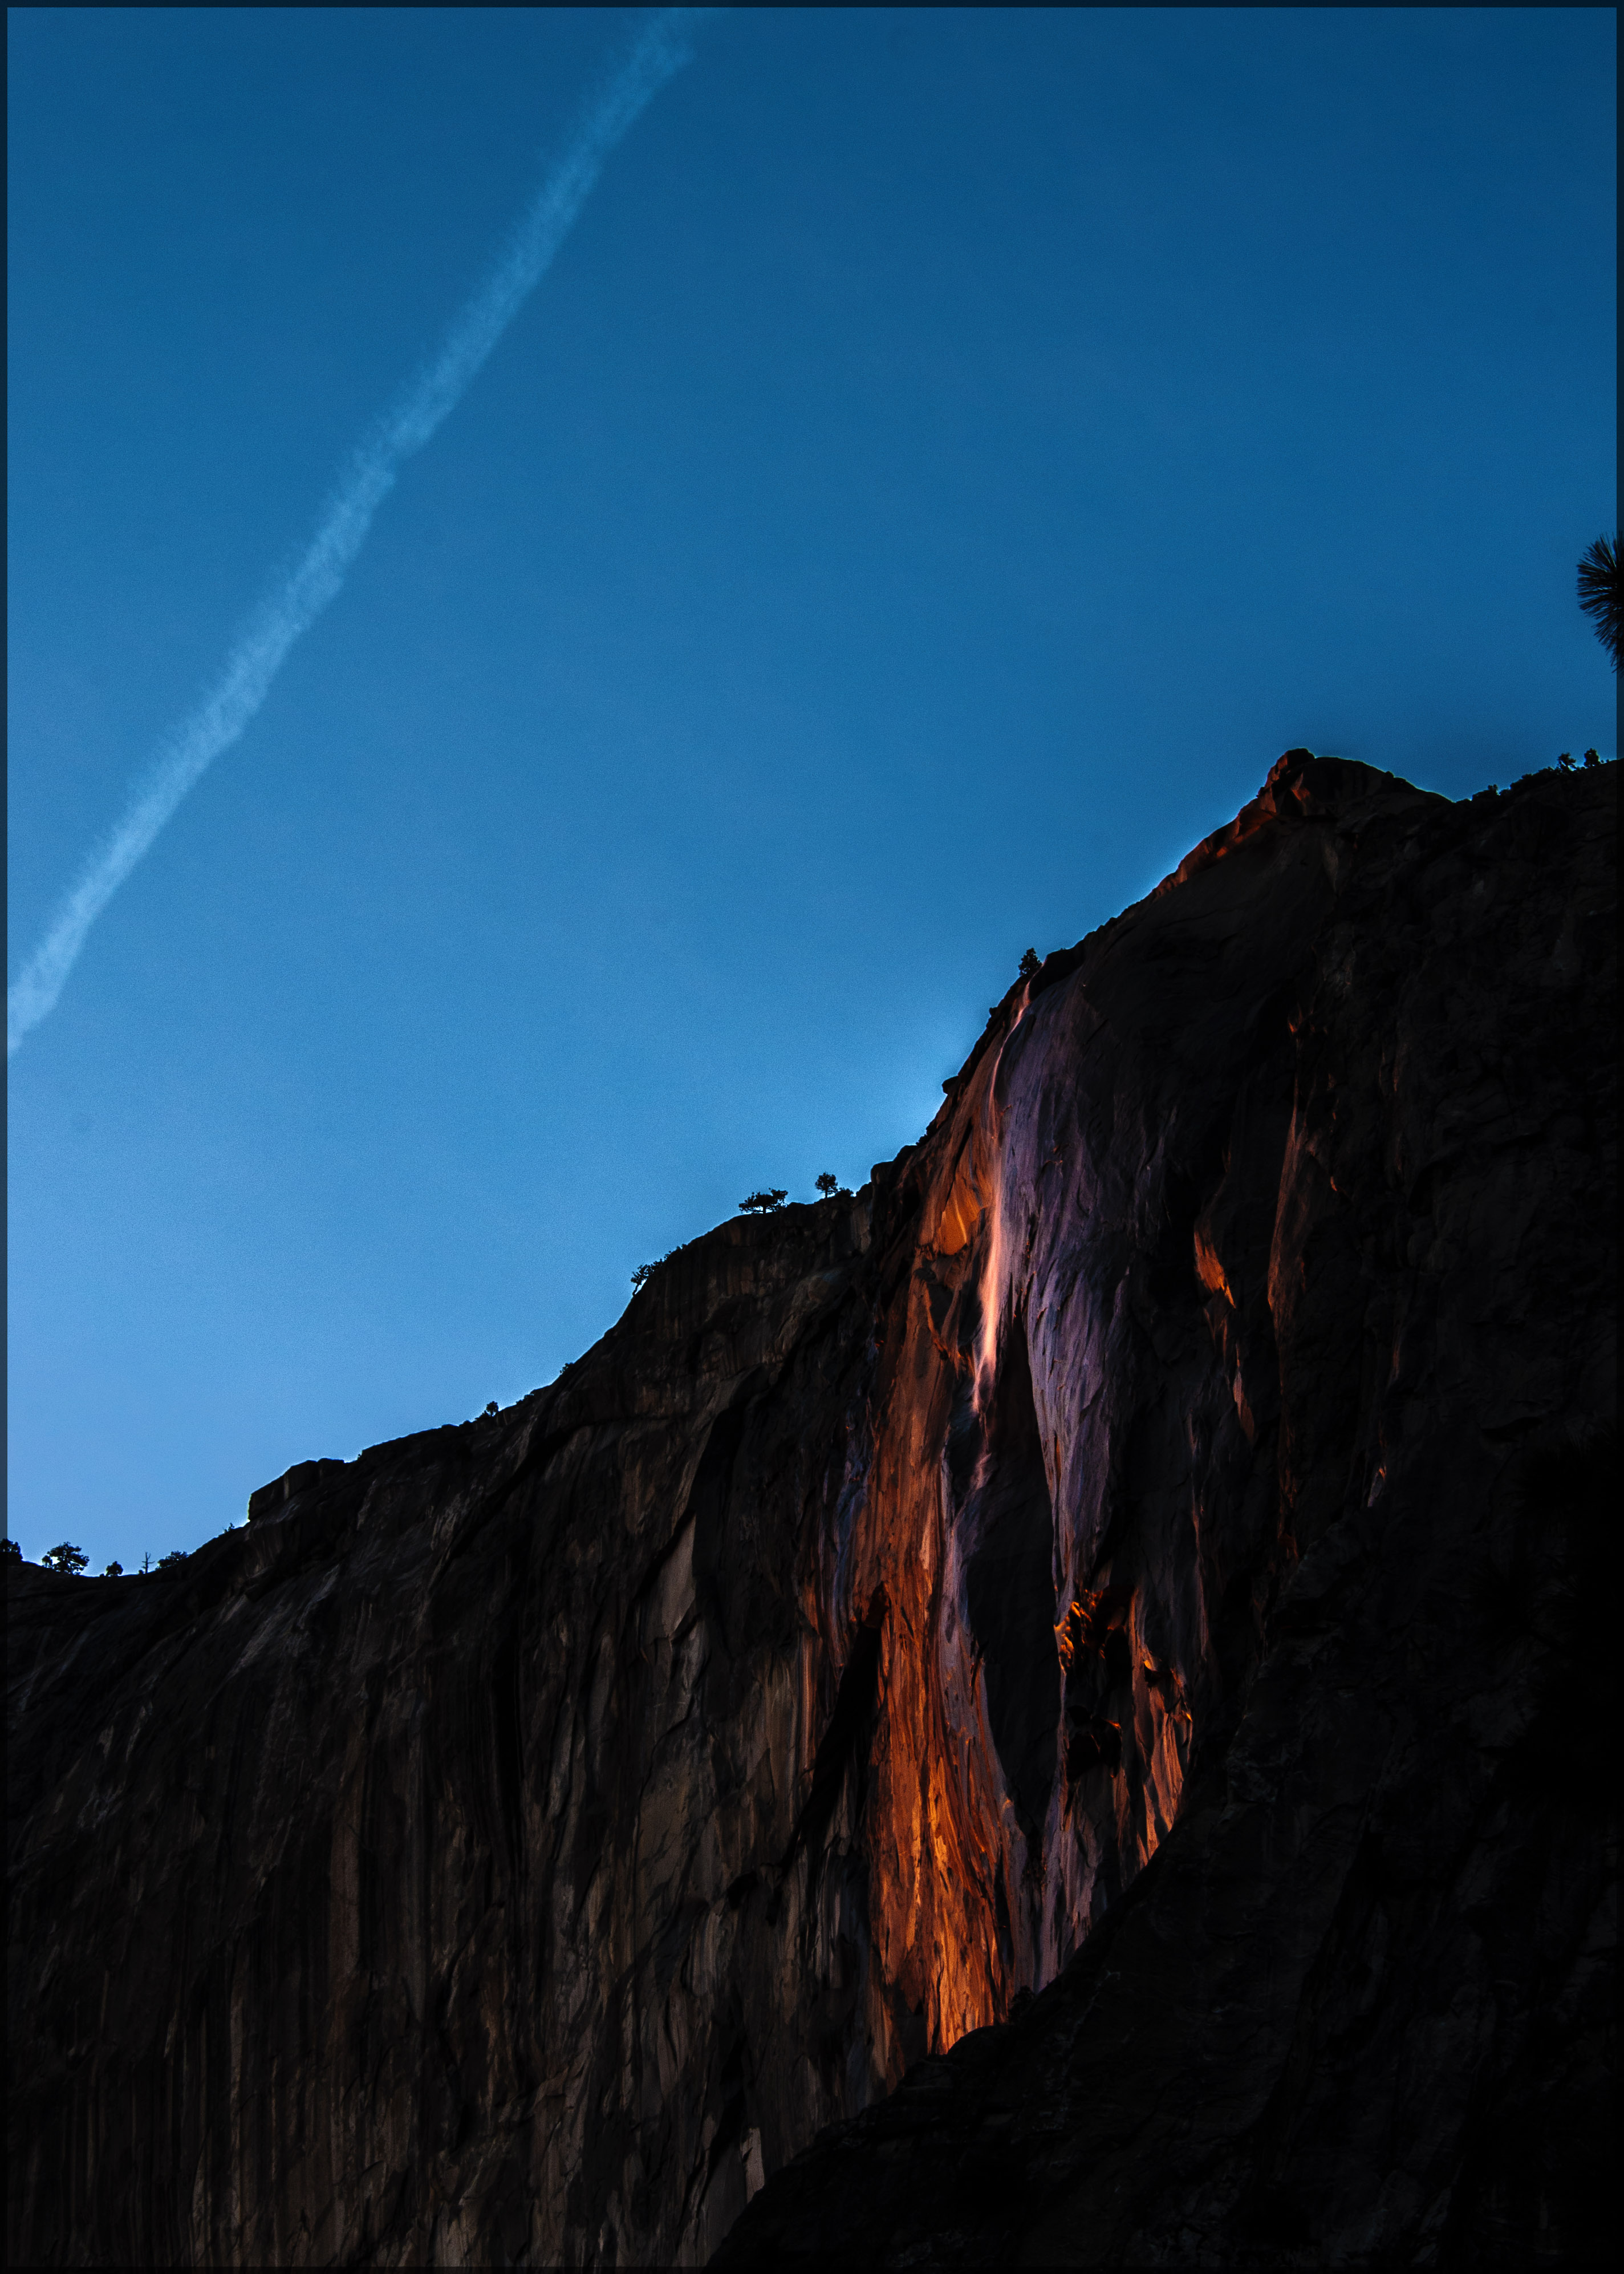
Fast forward a few decades and some enterprising chap noticed that for a few days only, during February, at sunset, if the sky was perfect, the moon was positioned just so, and the water was flowing sufficiently, nature would recreate ‘fire falls’ by lighting up Horse Tail Falls. It’s now a spectacle to behold. We were there for the 2014 showing. By sun down we counted 65 tripods, 7 copies of Michael Frye‘s excellent “photographing Yosemite” book, and about 100 people. The moon behaved, the clouds were great and the sun hit the spot perfectly. The only downside was the complete lack of water. So rather than fire falls, we got a nice red stripe on the cliff wall. Still it was pretty. That’s 5 years in a row it’s failed to happen (someone there claimed).
Given we failed to capture the falls at their best, we hung around for another few hours, camera unmoving on its tripod and we waited for stars – munching on Pringles and praying the bears couldn’t hear us. This tutorial is about how we turn those few hours of star catching in to comet trails and make the boring fire falls at least a tad more interesting and unusual.
Read on Macduff. Or not. For people who don’t read, here’s a video. It contains a horse and introduces our new, shiny, professional (ish) title sequences.
Batch processing star shots
Here you see Adobe Bridge showing all the star captures we made. There’s 85 of them, taken at f5, ISO500 for 1 minute. To process them, select the first one and open it in Adobe Camera Raw.

In ACR we’re looking to make the stars as appealing as possible. The settings you use will depend on the night. Was if cloudy? Was the moon out? How much ambient light was there from the nearby town? In our case, we were in the middle of nowhere and so need to make the sky a little bluer and a little brighter.

We also play with the Clarity to make them pop. Remember, at this phase of the processing we don’t care about the foreground because we’re going to replace that later. So, just process for the sky. When you’re done press DONE not Open.

Now we have to process the other 84 negatives. To do this, select them all in Bridge, right-click and select Develop Settings. Then select Previous Conversion. Your menu will look different from ours. Ours has been expanded with a bunch of pre-sets we occasionally use.

It takes a while (we fast-forwarded this bit of the video) but eventually, Bridge will update to show you 85 newly, identically processed negatives. It’s like having Elves on the payroll.

Making star trails
Now we need to load those negatives into Photoshop as layers. There are lots of ways of doing this, (Photoshop menu ‘File, Scripts, Load Files into Stack’ for example) but our preferred way is to use the free Dr Brown’s Stack-o-matic from within Bridge. Whatever method you use to load the files, the important thing is that you set the Layer Blending Mode to Lighten or Screen. Any other method and you’ll not get trails.

And bingo! A star trail. It’s a bit boring though, which I guess is the point of this tutorial.

Converting trails to comets
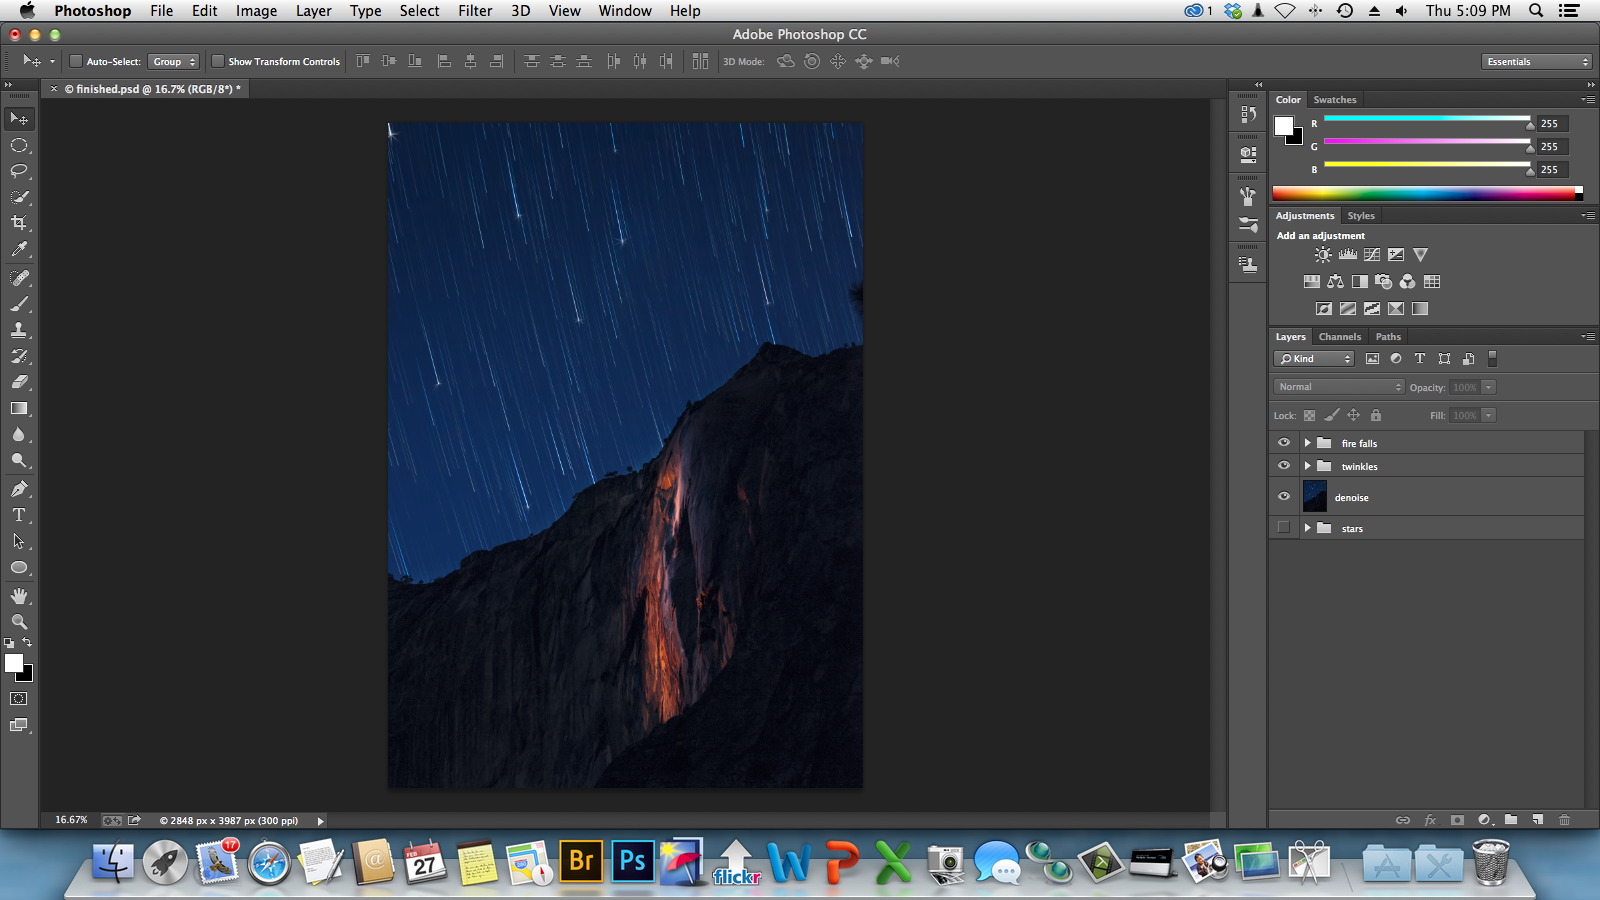
Turn off the layers in your picture until you see star trails about the length of the comets you want. This will highly depend upon your foreground. For this image, we selected just 10 minutes worth of images.

Delete the unwanted layers.
For the remaining layers, we now need to adjust the opacity. We’ve selected 10 layers. The opacity is a range of 0 to 100. 10 divided by 100 is 10. So, for each layer to be evenly different from the next, it needs to have a 10% change in opacity. In English, that means you set the top layer to 100%, the next one to 90%, the next one to 80%. All the way down to the last one which you set to 10%.
And now you have comets.
As a side note, you should really take the time to play with this idea. We’ve made images that have 100 layers with the opacity varying by just 1%. We’ve also used strange patterns to create really nice effects such as:
100, 100, 80, 50, 50, 50, 50, 50, 30, 20 (exploding stars)
10, 20, 30, 40, 50, 60, 70, 80, 90, 100 (reverse comets)
20, 40, 60, 80, 100, 100, 80, 60, 40, 20 (stars in motion)


That’s it. End of tutorial. You now know how to make comets! Well done. You rock!
Bear with us, while we finish the rest of the image. Thank you.
Right then, there’s a bit here where the stars were too bright for our camera (!) so we need to fix that. Using the selection tool, set the feathering to 5 pixels (or some other small number) and draw a line of marching ants around the offending area.

Patching errors
Next use the Edit, Fill tool to replace the offending area with new content. The system will get this wrong several times. If you just keep re-doing it over and over it’ll eventually nail it.

Remember to hit Command-D to remove the ants when you’re done. If you look at your image YOU can see where the content has been made up. And if you’re printing this on the side of a bus we’d do something different, but trust us, if you choose wisely, ONLY YOU know where the patch is. Honest.

Removing noise
When taking night pictures you always need to remove the noise. Photoshop has in-built tools for this but we prefer the one from Topaz.


Adding twinkles
The final, optional part, of the comets is to add a twinkle, a sparkle. Again, there’s lots of ways of doing this but we’re just going to paint them on. Select your paintbrush and push the down arrow in the top left corner of Photoshop where it shows the brush size. Now press the little gear and get the menu up. Change your brush selection to Assorted.

See that? All those boring round brushes have been replaced with cool shapes. Select one you like and set its size to large-ish.

Create a new layer and using a white brush paint a star somewhere. Doesn’t mater where. Really, it doesn’t.
Now select the Move tool (the little arrow top left), and move the layer until the star is roughly over a comet. Roughly.
Hit Command-J to duplicate the layer and again move it to other another comet. Repeat until you have the perfect number of stars.

Now for some variation and refinement. Select a star layer, and hit Command-T. This loads the Transform tool. From here you can rotate, squash, enlarge, and generally vary your star. Once you’re done, use the mouse or arrow keys to move the little selection box to the exact end of your comet. Hit Enter to make the changes. Selected a new layer and repeat.

Two other variations for you. Lower the layer opacity of smaller stars to make them dimmer, and for the larger ones, again hit Command-J and just double up the star layer.

Completed image
Now all you need to do it work on the foreground. We’ll leave you to your playing for that. Good luck.
Free video
Here’s everything we just said in a nice video.
Thanks for visiting. And remember to tell your friends you had a nice time here.
UPDATE:
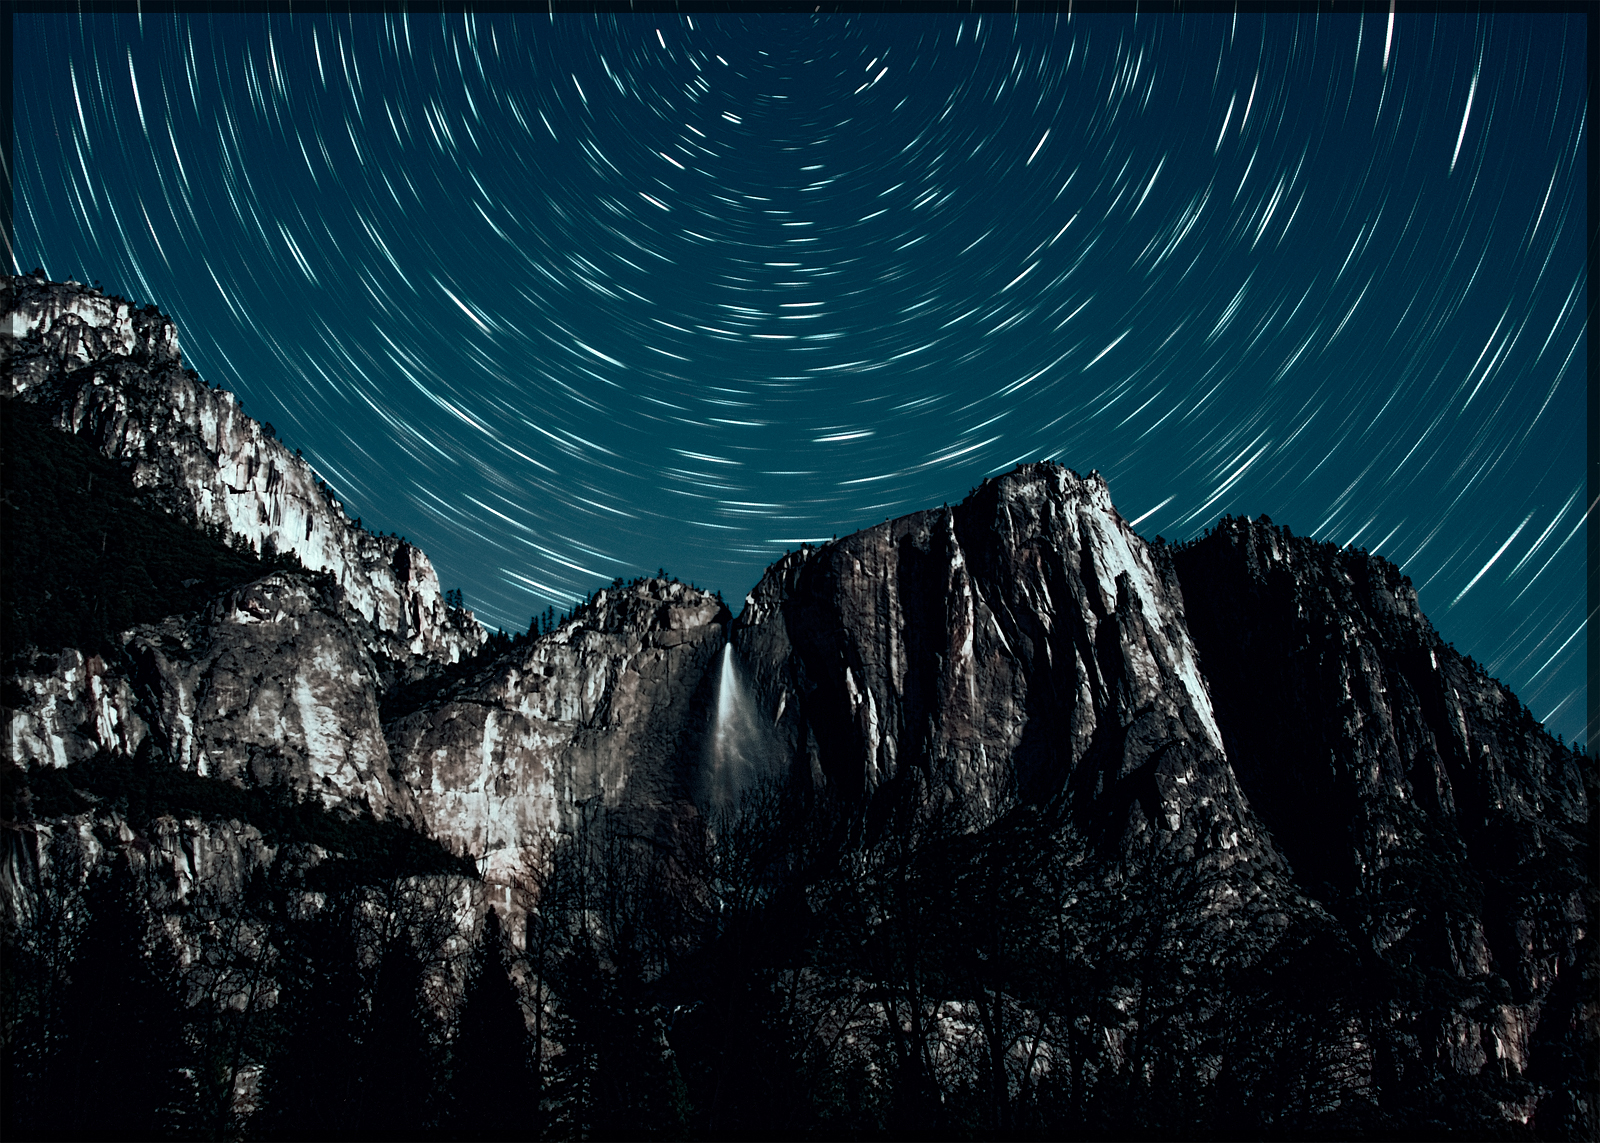
Here’s a shot using the ‘stars in motion’ pattern. 15 shots varying the opacity from 6% to 90% in increments of 6, 8 shots at 100%, and 15 shots decreasing the opacity from 90% to 6%. Final recoloring done in Topaz because I was feeling lazy.
Come on, talk to us!