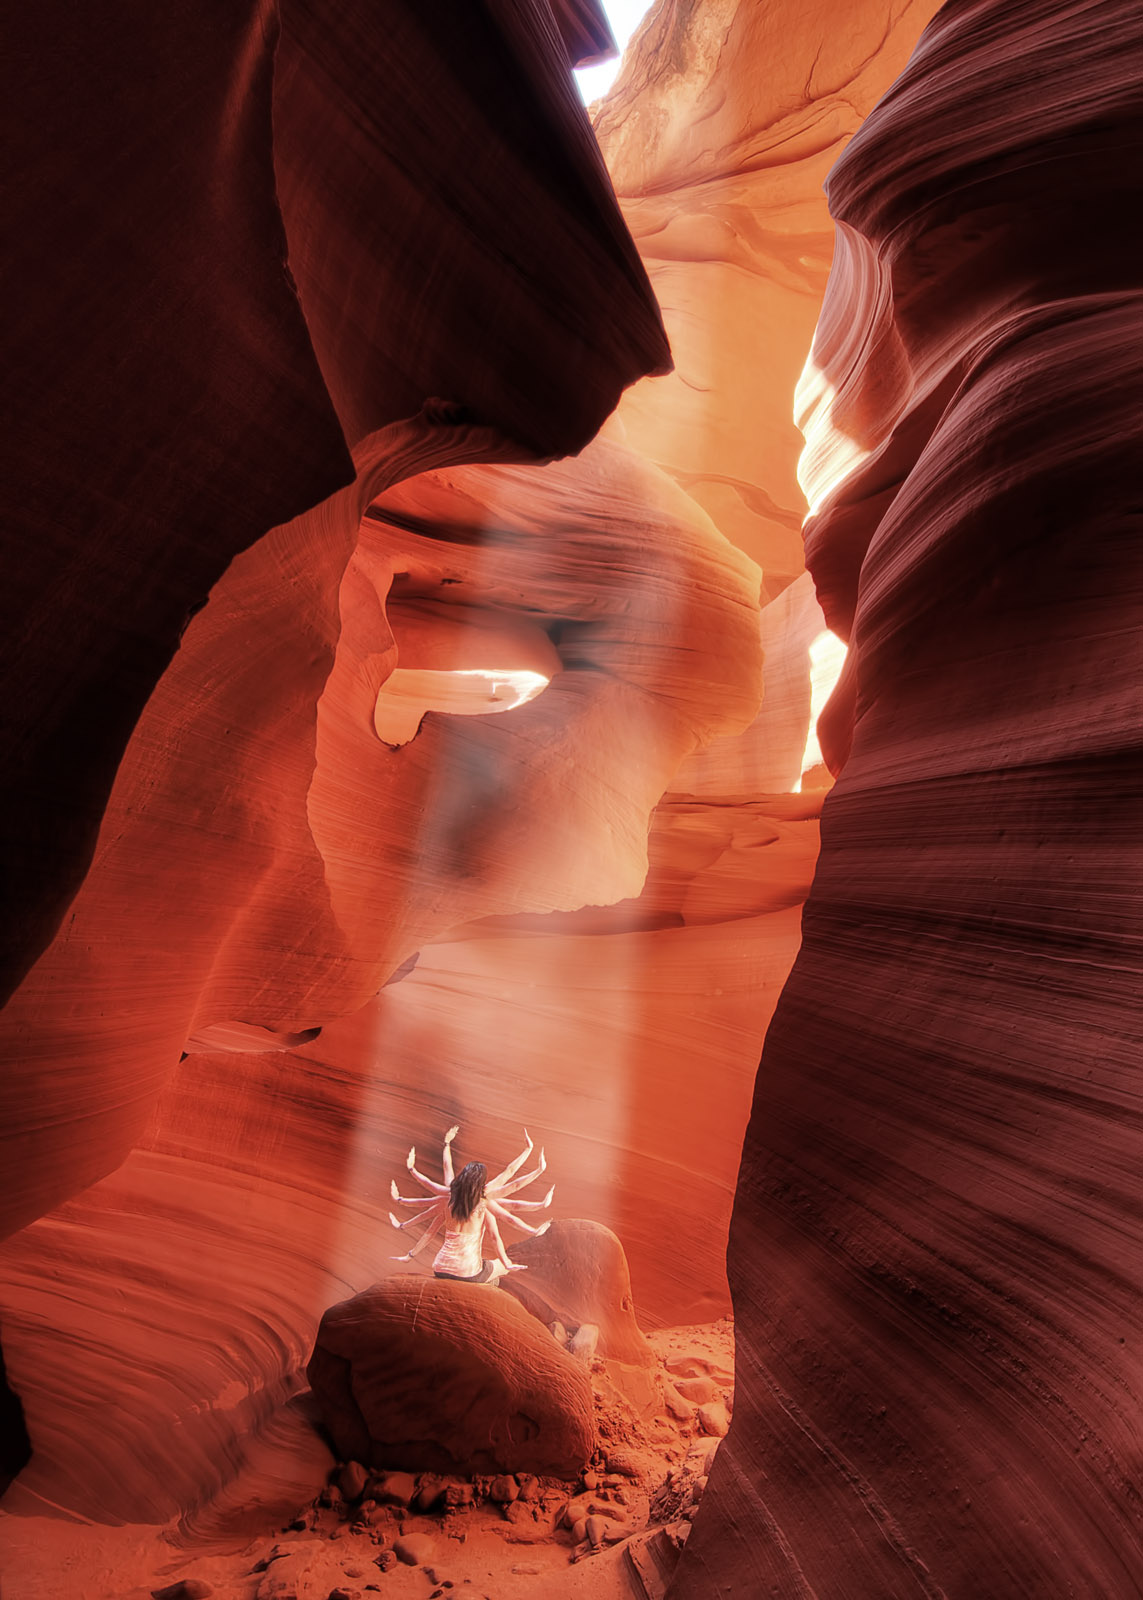
 The image of my multi-armed wife worshiping in Lower Antelope Canyon generated more conversation and ‘likes’ than anything I’ve done on Facebook ever. It was mostly ignored on Flickr, and has generated reasonable traffic here, so I decided to show you how to make one of your own.
First, find an 8 armed friend…
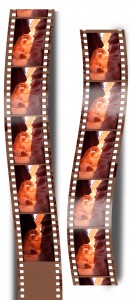
Plan B, find a two armed friend and take lots of pictures. If you click the image on the left, you’ll see that I took a picture of the canyon without a model, then took a dozen of the same shot with model moving her hands in to the various positions.
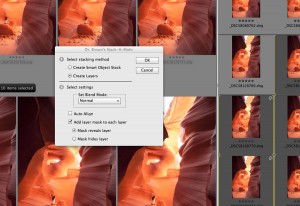
We’re going to load each of those photos in to the same image as layers. There’s lots of ways of doing this but my favorite is to use Dr Brown’s Stack-o-Matic. I use the tool every time I make a composite image (star trails etc). It’s free and if I were you, I’d go get it now. (The 1-2-3 process is pretty neat too – I use that to automatically turn my PSDs into different sized JPGs for this site, Flickr and Facebook.)
Click the image below to see the Stack-o-Matic operating panel in non-blury crispness.
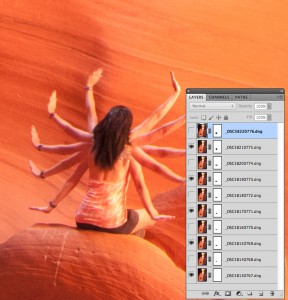
Here’s what Stack-o-Matic will create for you in Photoshop. In my case, 10 layers, each with my model holding her arms in the various positions.
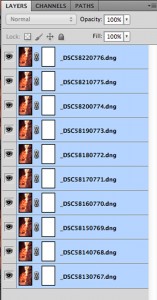 All that’s then needed is for your to take a somewhat soft brush, say 50% and draw on the layer masks to expose the arms. Pay particular attention to how you create the mask by the shoulders. There’s nothing special going on here but if you vary the shoulder joint mask opacity between 100% (for the arm) and 50% (for the joint) it’ll look as though the arms are fused.
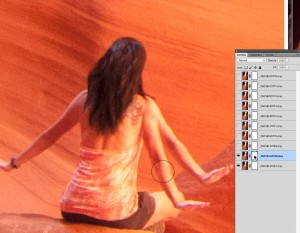 I had enough images to make a 20 armed goddess but having painted them all, I realized that it just looked stupid. So I hid every other layer and just used the 5 you can see here.
Alright, time to move on. Flatten the image and save it somewhere safe.
Let’s start a new image. Load the picture of the empty canyon. I didn’t do anything amazing with filters, time of day, etc so the image is a little flat and lifeless. Duplicate it so you have the same image on two layers.
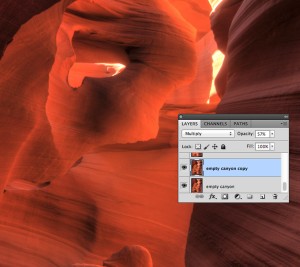
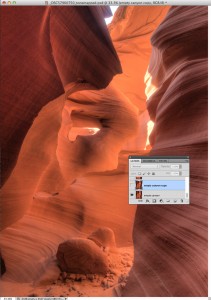 The basic image needs more contrast and more saturation. We can achieve both of those things with one simple click. Change the layer blend mode from ‘normal’ to ‘multiply’. This will essentially double the value of all the colour, saturation, and luminosity elements of your image. I found the effect too powerful for what I wanted, so I then dialed the opacity back to 60% as you can see below. The colours are now much more pleasing, and the shadows much better defined.
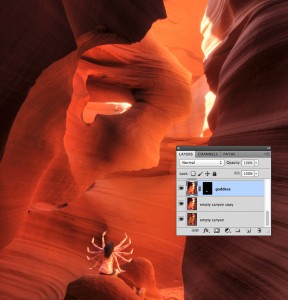
 Open the flattened image of the goddess and drag it on to the empty canyon image. If you do this while holding the shift key it will align perfectly. If not, click on the all 3 layers and select Edit, Align Layers.
The next step should be really hard to achieve but we’re going to cheat knowing that later our shortcuts will be hidden. We need to add the goddess from the one layer, in to the new saturated canyon.
The problem is that the canyon the goddess is sat in has less colour so the blending between the two layers will be obvious. You could spend hours using selection tools to make the perfect mask but in this case you’d be wasting your time. Instead, take a relatively hard brush, say 80%, and draw as carefully around the limbs as you can. If there’s some pale rock visible don’t worry about it too much. Don’t be sloppy, but don’t try too hard.
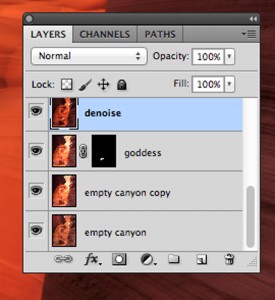
 At this point the noise in the picture was really annoying me – I’d stupidly left the camera’s ISO too high after a night of failing to capture stars. There’s all sorts of things you can do with smart filters to remove noise but my fav way is to press Shift, Option, Command E. That makes a ‘stamp’ of the image- basically a new layer that captures all the visible information in one layer. I then ran my go-to noise remover over the image – Topaz Denoise. The one that ships with Photoshop (under the Filter menu) is pretty good, but Topaz is better.
 Let’s now add that beam of light, reflecting in the canyon’s dust. On a new blank layer, using the Select tool draw a beam shaped box. Go to the Filter menu and select Render, Clouds. This will create the pattern you see below.
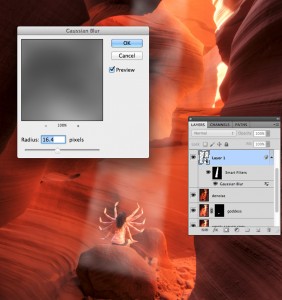
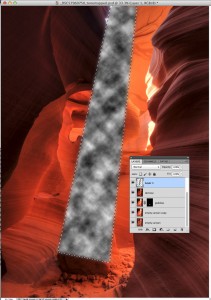 The pattern is too well defined and not very light-like but that’s easy to fix. Convert the layer to a Smart Layer using the filter menu, and now add a Gaussian blur. After trial and error, I finally settled on the numbers you can see below.
It’s still not very light like, but change the layer blend mode to Screen and lower the opacity to around 30% and you can created a perfect shaft of warmth. And if you’ve drawn it wide enough, it’ll hide your bad masking where you roughly painted round the goddess.
The only problem with our new beam is that is does clever things like pass behind and in front of, and under rocks, and that makes it look fake. So add a layer mask, and using a soft-ish (30%) brush paint out the parts where the light shouldn’t be. I’ve shown them below in green.
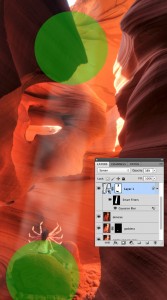 We’re almost done. The canyon still needs a bit more drama, so add a Levels layer and move the center slider to the right. This should really boast the mid-tones and make them much more contrasty.
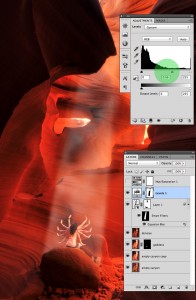 Sadly, it also trashed the colour information so add a Hue & Saturation layer and dial back the saturation a peg or two.
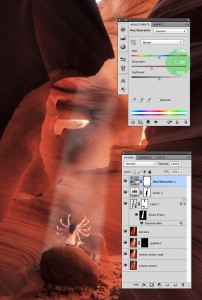 And there you have it. Finished image. Goddess in a Canyon. Easy.

Come on, talk to us!