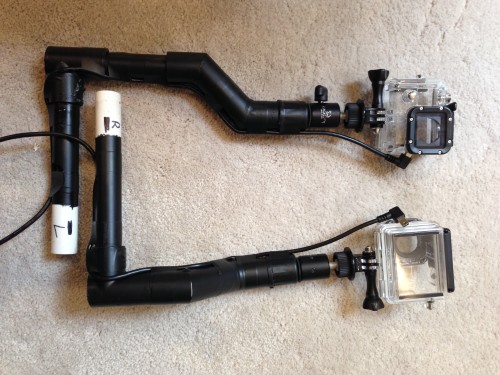
This is a follow-0n post to our previous tutorial. The rig works well on wide open trails but is a little awkward getting in and out of the car, and is a total nightmare when trying to use it in overgrown forests and other ‘tight’ spaces.
So, we redesigned it! It’s now smaller and less obtrusive. This one should work! Fingers crossed.
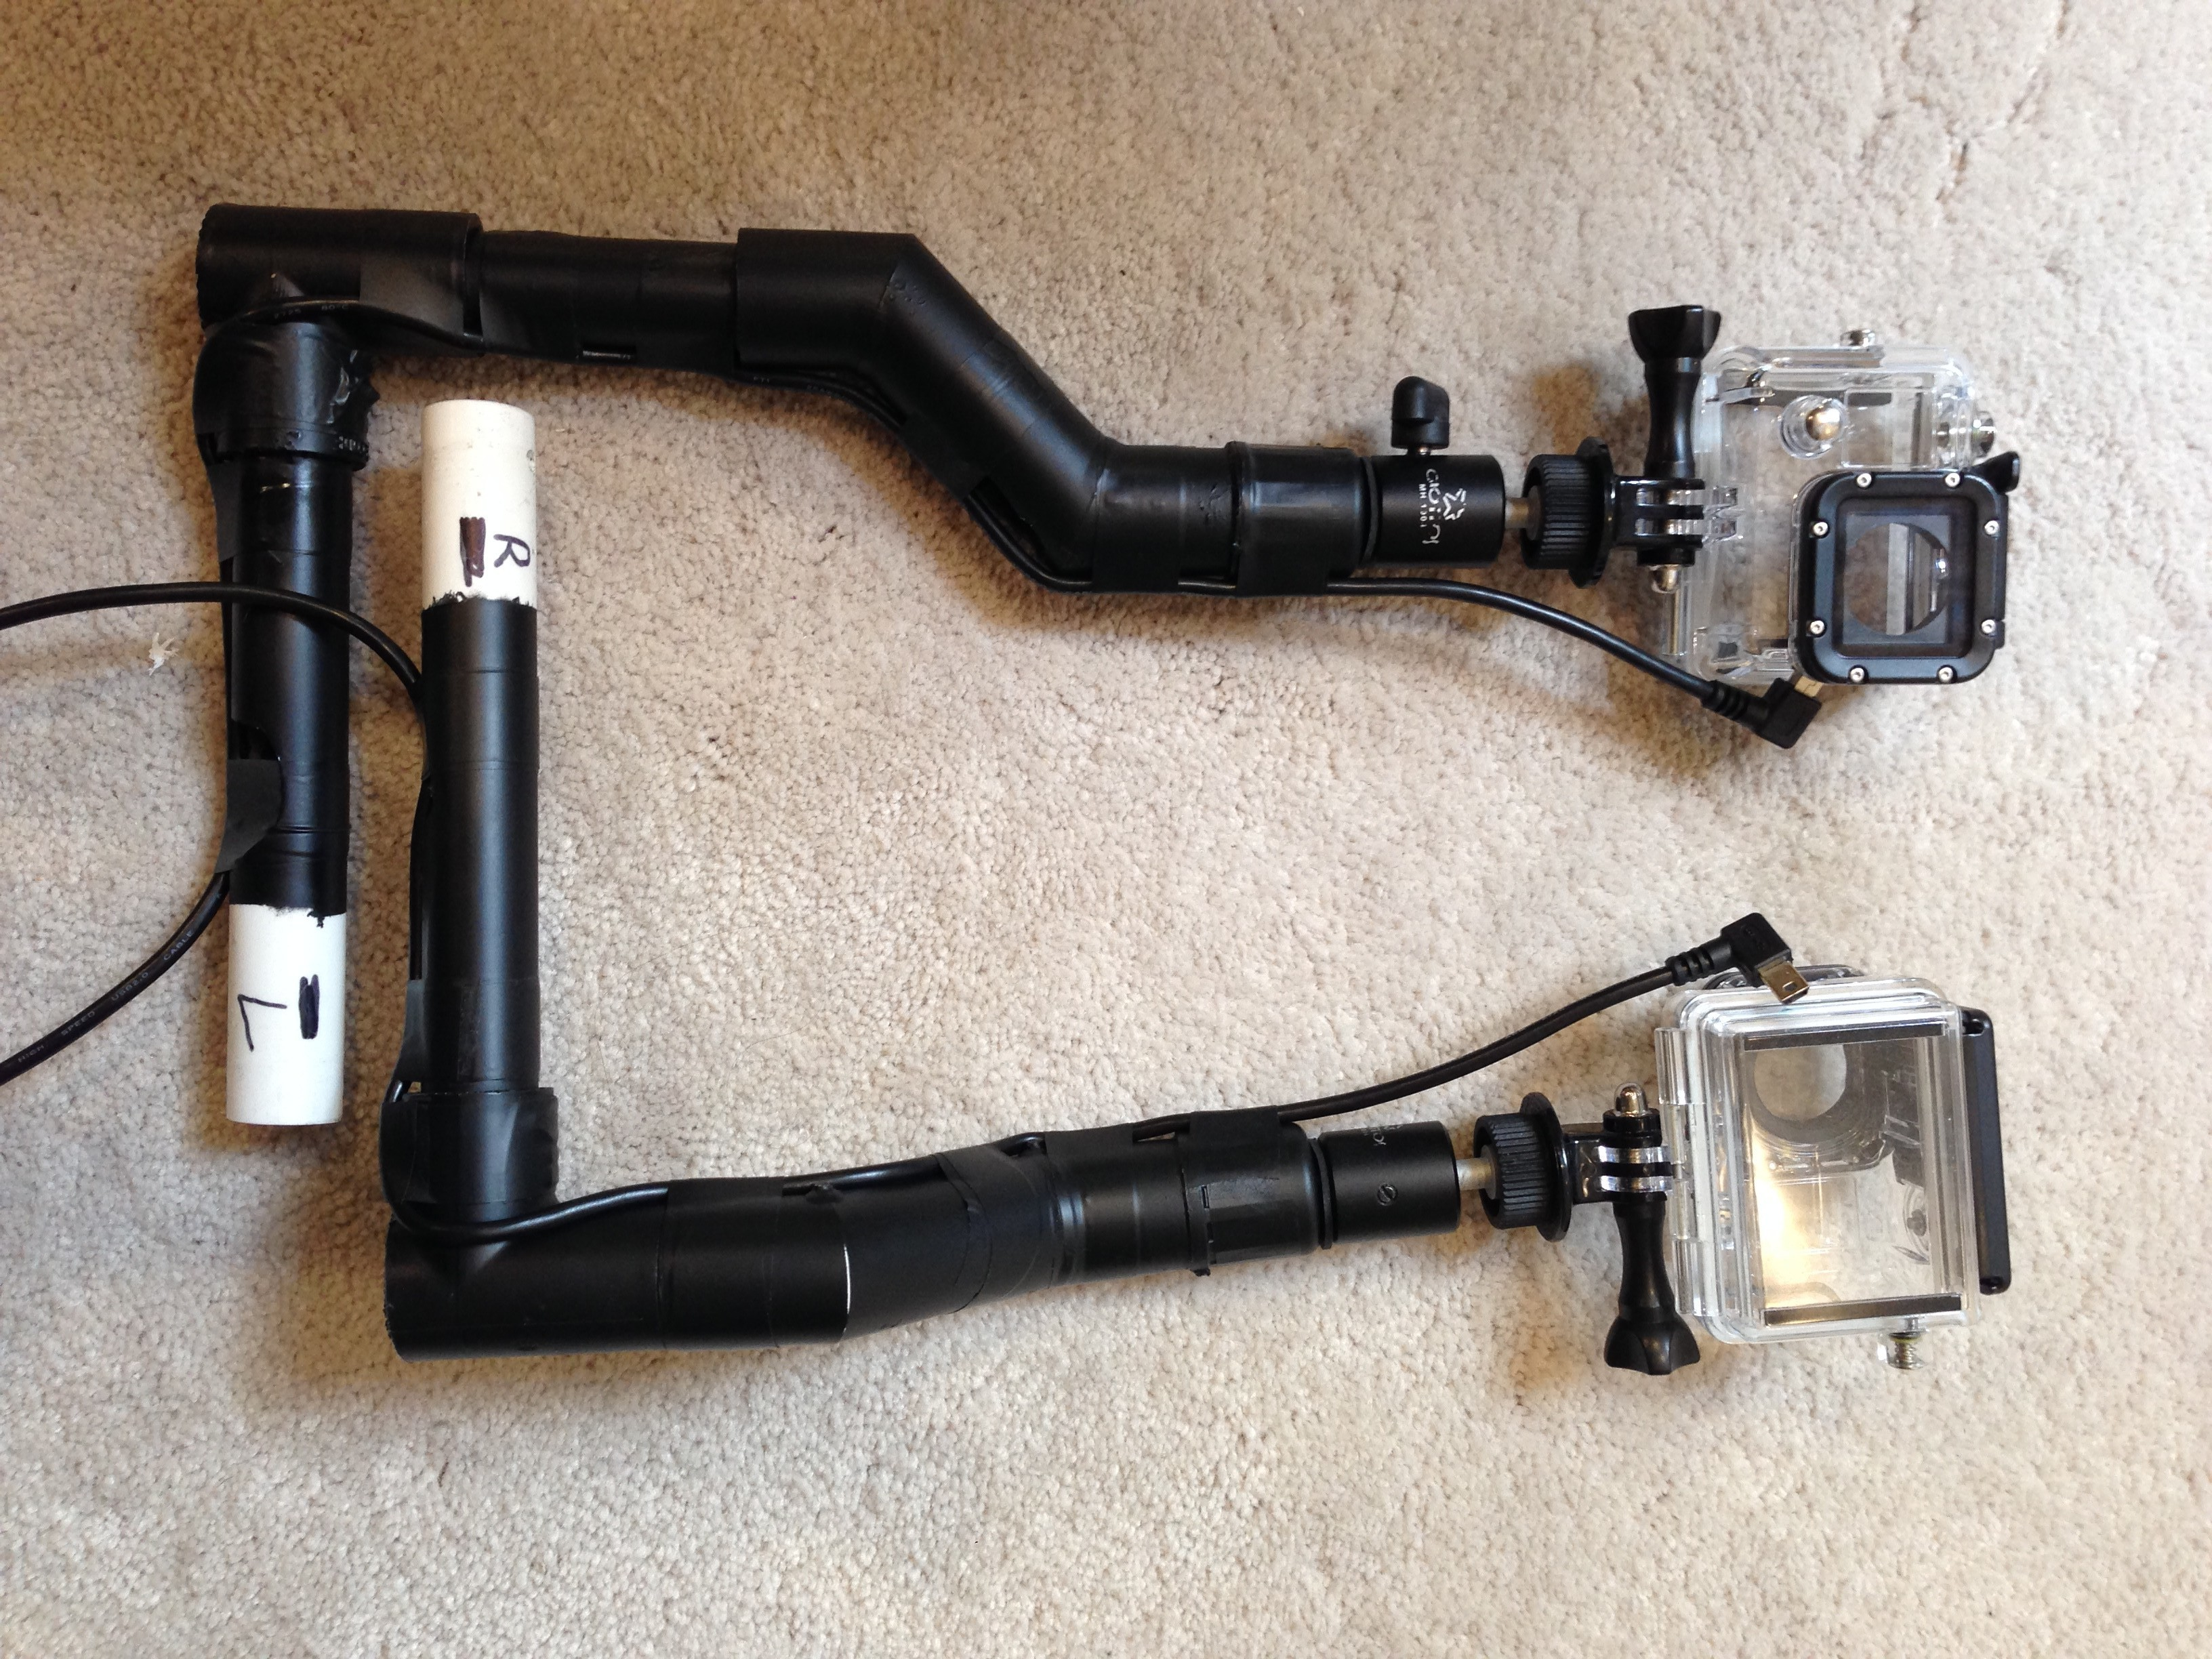
Here you can see the the main difference. Rather than have two identical arms pushing out and away from the backpack they hug the pack and even lean in. The arm on the left holds the rear facing camera and is angled to come in close to the back of wearer’s head.
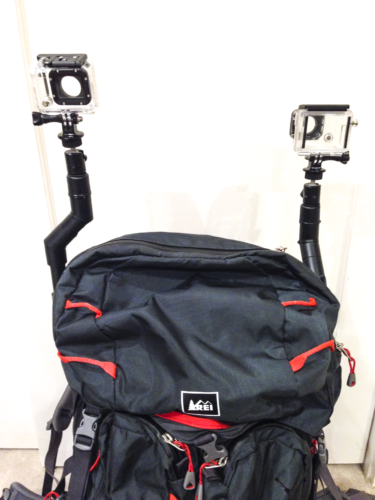
From the rear view you can see even more of the angle. The front facing camera actually comes forward and sits alongside the wearer’s head. We did this so that the images will have a constant framing so as to avoid motion-sickness in the viewer.
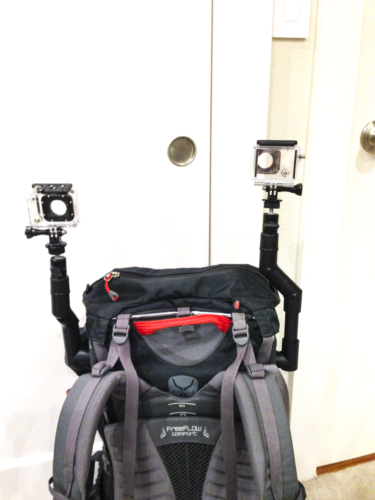
In this image you can see a bend more clearly.
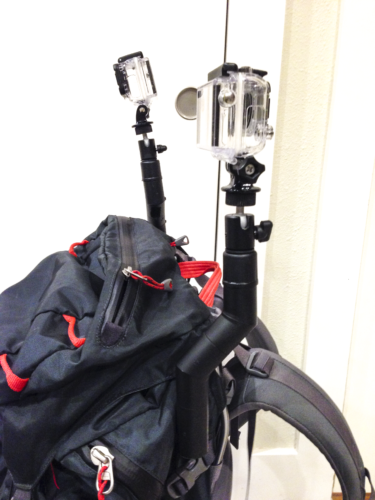
Especially, when compared with the side view of the rear facing cam.
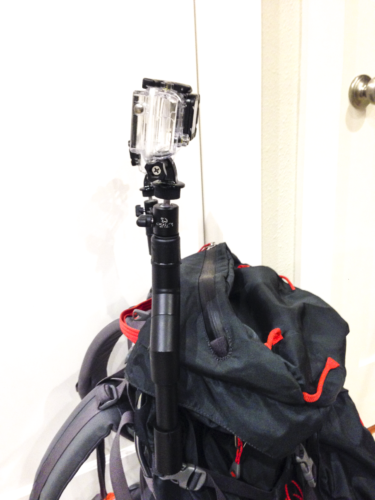
We’ll let you know how we get on.
Thank you
UPDATE: Why the big head?
We’ve been asked by a few people what we meant when we said ‘constant framing’. If you google first person POV (point of view) films, you’ll find lots of stories of the audience reportedly getting sick. Think Blair Witch Project. This is because there’s too much happening on the screen and the brain can’t anchor on to any one thing to give it stability. To overcome this problem you need one thing in the frame at all times. It could be your bike’s handlebars, the tip of your surfboard, the front of your car. Whatever it is, it needs to be there for your audience. With this rig we’ve chosen to always keep the backpack and the user’s head in the frames. No one wants to induce vomiting in the audience!
Here’s a video of it all working nicely.
UPDATE2: Better Pictures

In an attempt to get better pictures out of these cameras while hiking in snow, we’ve also added polarizing filters. We know that’s nothing to do with the subject of this post we just wanted to tell someone.
Come on, talk to us!