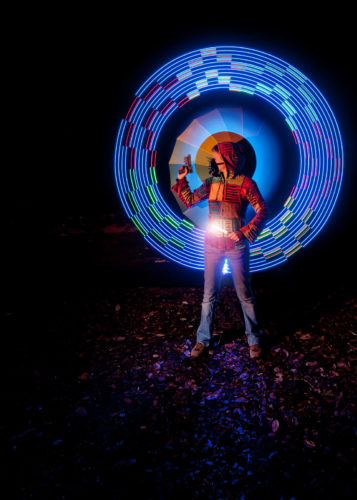
This is the second shot made with the same tool as Taking Aim.
There’s some differences, firstly I rewired (plug n play) the inner light so that it was blue.
Then I added an child’s umbrella to cover my face and add an extra dimension.

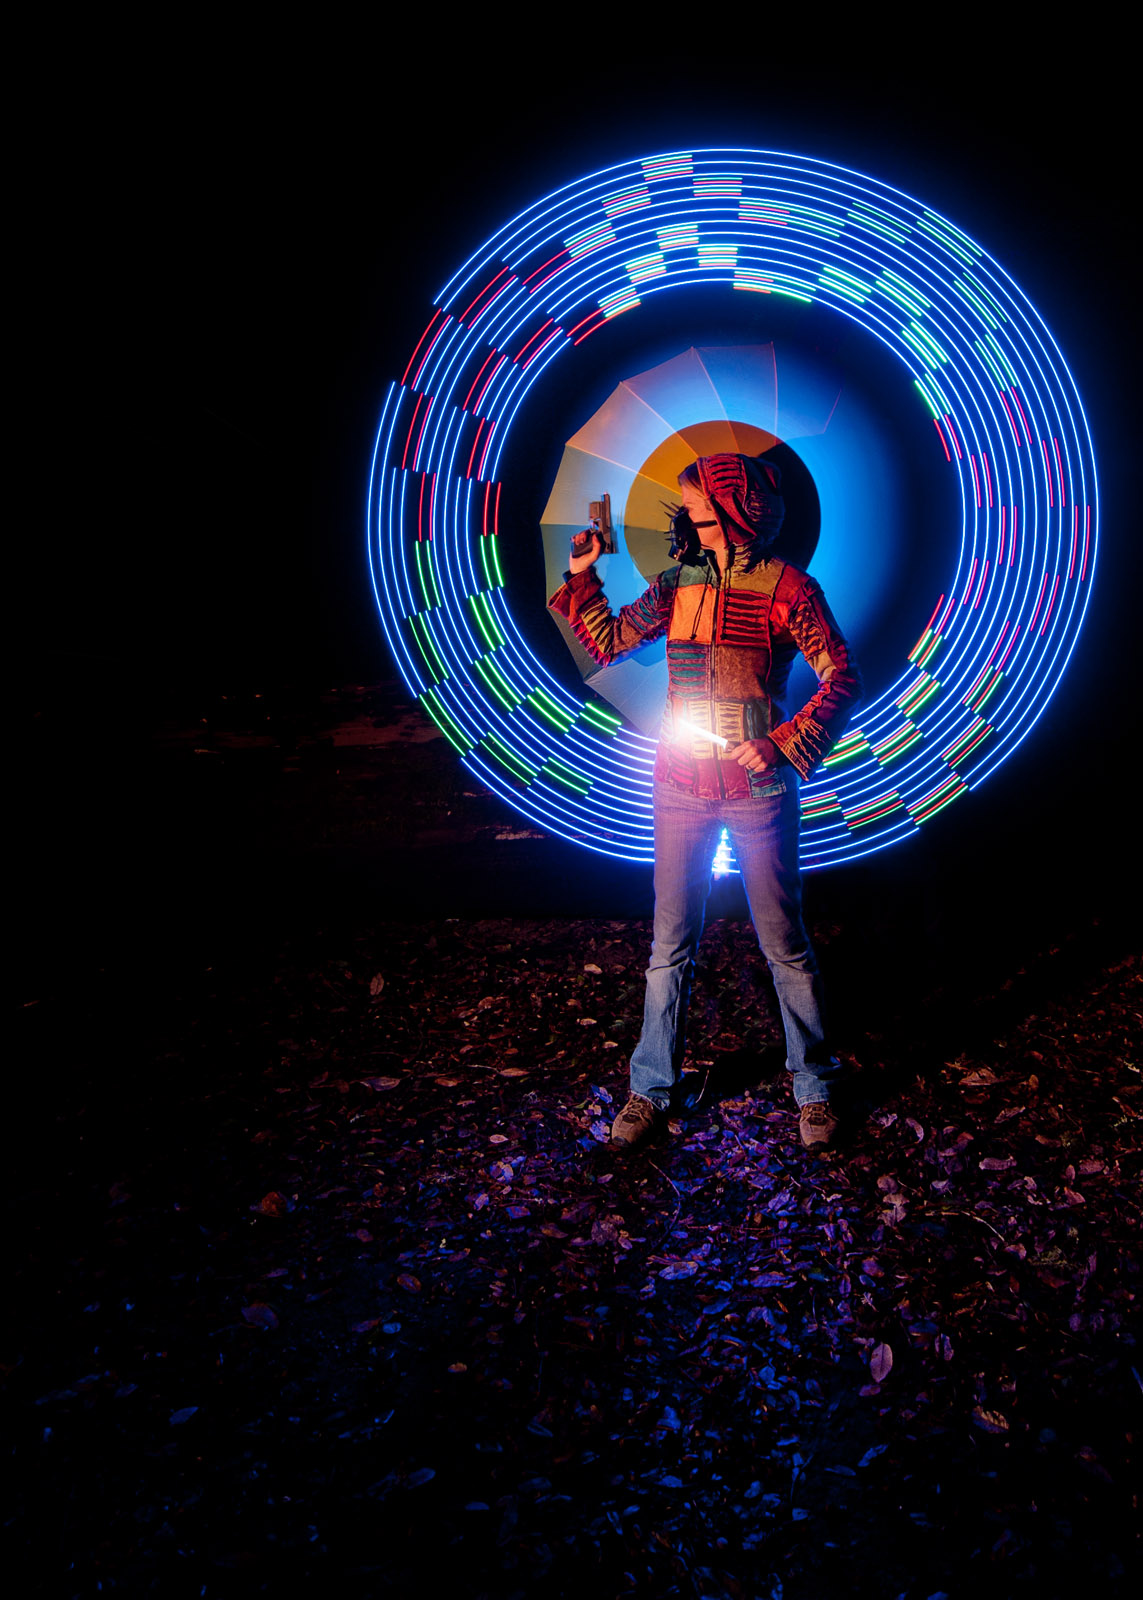
This is the straight-out-of-camera shot. Click for the large view.
As you can see it needed a little tweaking.
1) I lowered the shadow harshness cast from the assassin’s arm on to the umbrella
2) I added a lens flare to the knife
3) I also pumped up the levels on the knife to take it from dull metal to shinny killing machine
4) Then of course, there was the small matter of removing the light stand and my feet
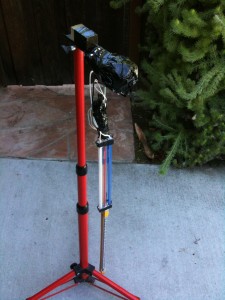
I promised you the tool that I used to make the halo so here it is.

Click larger to see it in all its high-tech glory!
Let me explain:
1) Firstly, I’m using a decorator’s lighting tripod to hold the tool solidly. I tried using strobe stands but they’re just not built for the movement and they wobble too much
2) Next you’ll see just a 3ft strip of wood, fastened to paint roller handle, stuck into a bit of wood taped to the stand. That’s it. That’s all the mechanics.
3) Let’s start at the bottom of the tool. That little stick of LED’s is what creates all the magic. It’s made by City Lites and you can get one cheaply here. It’s a 12 volt tool which is handy because…
4) Above it you’ll see three 12 volt cold cathode tubes designed to make your computer case look cool. These tubes come is various colors and the kits always includes a switch and a little transformer
5) And finally above all of that is the magic that makes this work. There’s a case that holds 8 AA batteries. This is connected to single switch that lets me easily power the whole thing on and off (handy in the dark!). From the switch the power flows in to two direction; to the Cathode power converter, and to the LED program switch. Of course, you can’t see any of this because I covered it in duct tape to keep it all in place
6) The LED program switch is just two buttons (ships with the light) one that adjusts blinking speed, the other adjusts the lighting pattern
7) To select between the red, blue and white cold cathodes I manually plug the lamps in to the converter. At some future time I might consider something more elegant but for now that’s it.
Easy and very effective.

Come on, talk to us!