By now you’ve watched the video of me burning stuff but you really want more info right? So here it is, the lighting and photoshop how-to of making a huge fireball from cornflour.
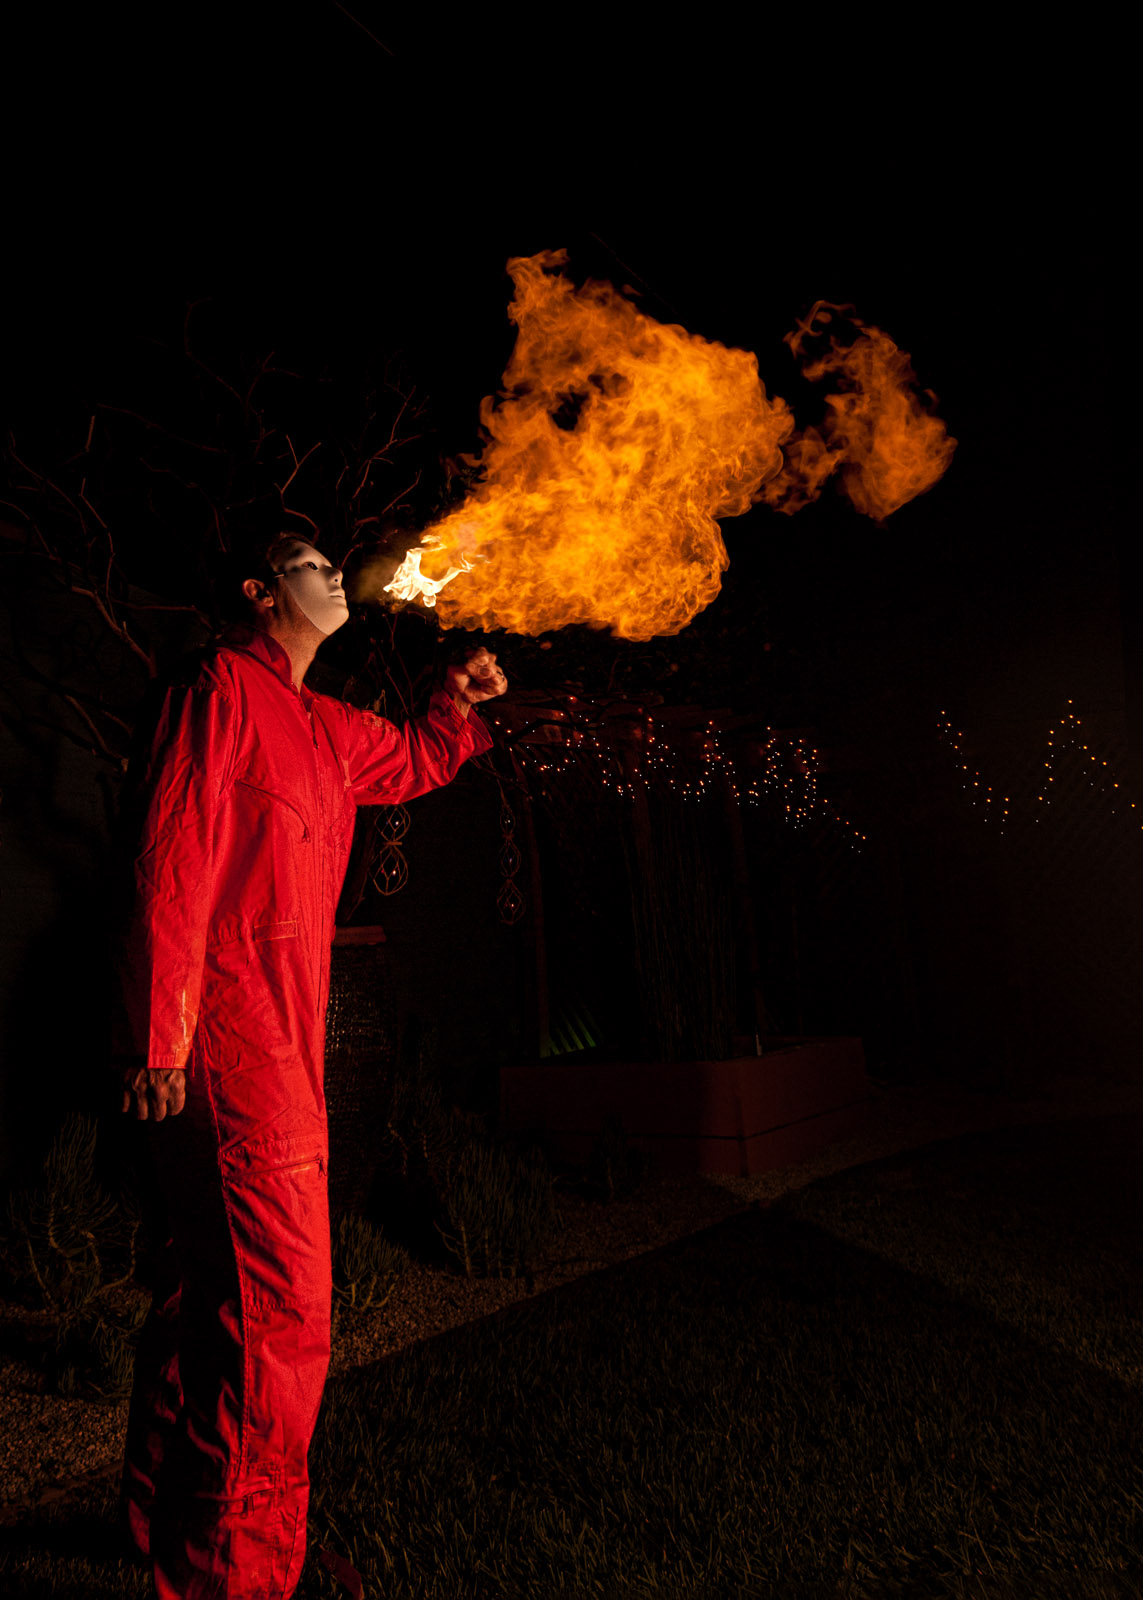
This is the photo we’re going to create.
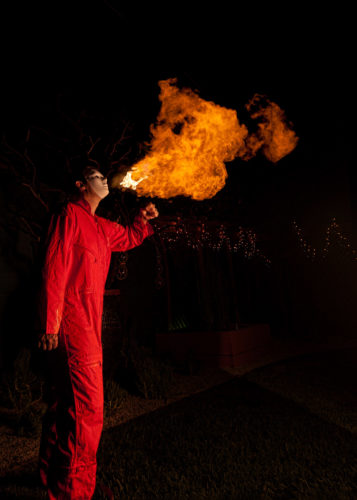
Firstly, obviously you need a willing model. The more attractive and sexually charged the better. If you can’t find one, do what I did and use a fat old man in a mask. The fireball, while it looks really dangerous, isn’t. You’re going to make it using household ingredients that simply don’t burn on their own. You need a very light-weight dusty substance. I choose to use cornflour but you could choose to use normal flour, coffee creamer, almost anything. If you select fine grain sugar, be warned, sugar actually burns and you might loose some hair. Unless you’re the 1%, you probably shouldn’t use cocaine for this; it’ll get real expensive, real fast.

OK, this is the disgusting bit. Take the biggest spoonful of this fine powder that you can, fill you mouth with it. It doesn’t taste that bad, bland is probably the best description. Blow it out. Not one big fat blow that shoots it all out, but a carefully controlled whistle like blow. Make it last as long as you can, aim for distance. Now all you have left is wet sticky gunk filling the gaps in your teeth, padding out your gums and generally making you look like a Rabies victim. I should have mentioned that you need a big glass of water to hand. Rinse and spit. Rinse and spit. And probably rinse and spit again.
That was easy. Now all you need to do is do it again only this time hold a flame in the way. A gas lighter will work nicely but I prefer to soak some rags in BBQ lighter fuel, wrap them on a wire coat hanger, and set that alight. Well, you can’t have too much flame can you?
Practice and you’ll get good at it. My advice, don’t do this wearing a mask. The blow-back is freakin nasty.
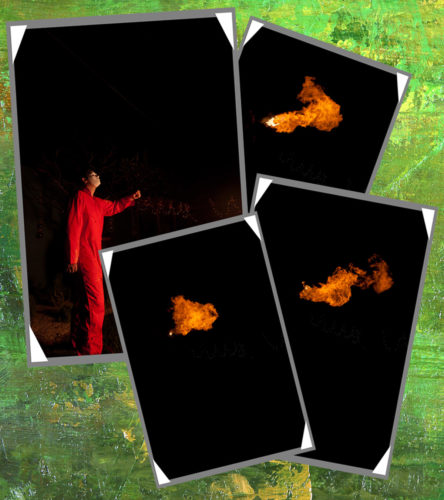 Step two is actually taking the picture. Those of you with a Nikon might be able to do all this in-camera using the multi-exposure mode. I’d prefer a tad more control, so to make this picture, you need to be prepared to take at least 2 shots and blend them together in Photoshop. The reason for the two shots, is that the fireball requires a really high shutter speed to capture all the detail in the flame. Whereas the model requires a flash to light it / him / her properly and they don’t make those that fast.
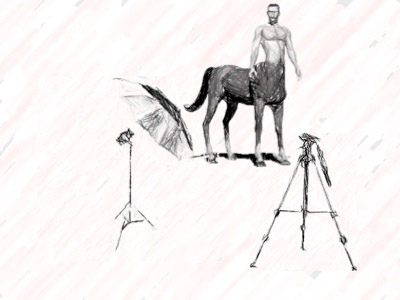
Here’s the set up.
Nice and simple. The camera is in front of the model. A speedlight, set at 1/2 power, is at 45 degrees from the camera and is shooting through an umbrella to make the light large and soft. Keeping the flash close-ish to the model and reducing the power will prevent the background from being exposed too much. Set the camera to f5.6, ISO 200 at 1/200th of a second and snap.
Turn the flash off. Do not recompose or refocus the camera but change the settings to ISO 640 at 1/1000th of a second. Set the shoot mode to rapid, multiple exposures. When the model blows the fireball, grab as many shots as you can.
Now all you have to do is blend the photos together in Photoshop.
I selected 3 fireball captures (from 7) because they we’re the most interesting.
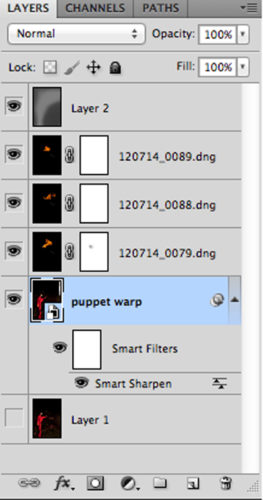
Load all the photos in to Photoshop as multiple layers in the same image.
Set the layer blend mode on the fireball layers to Lighten. This allows only those pixels that are brighter than the model (the flames) to show through and hides everything else.
At this point I noticed that the model’s arm that was posing as if holding the lighter was in the wrong place for the flame. So I duplicated the model layer, and used puppet warp to move the arm in to the right place. It’s amazing what you can do with this tool!
Next up, convert the model layer in to Smart Object and add some sharpening to get the clothing / background looking exactly as you need. I’d expected to need a few curves to get the tonal contrast right, but for once it looks as if my flash lighting was spot on.
Now add a new layer using the menu item. Rather than immediately adding a layer, this brings up a dialog box allowing you to set the blend mode to Overlay, and to set fill to be 50% grey. This is now your dodge and burn layer. Using the dodge / burn brushes paint on this layer to remove any distractions.
Simple. Effective. And your friends aren’t doing it.
Watch the video of me shooting the above photo (and click a few ads while you’re here, it pays for all the fuel I burn)
Come on, talk to us!